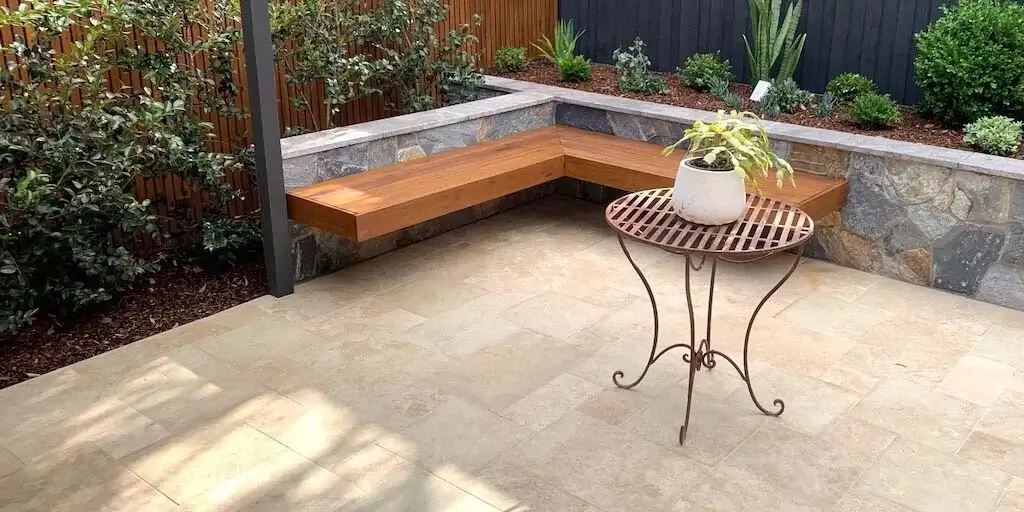
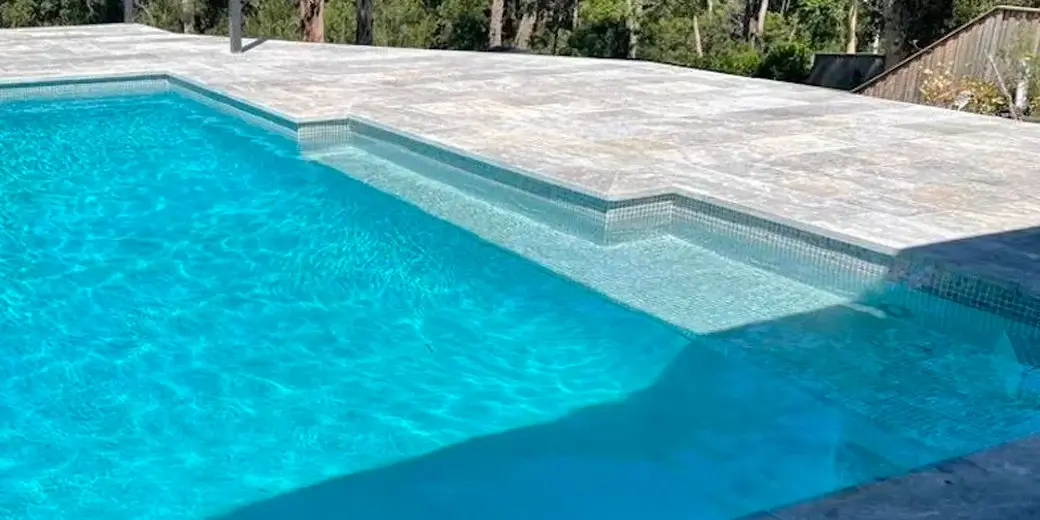
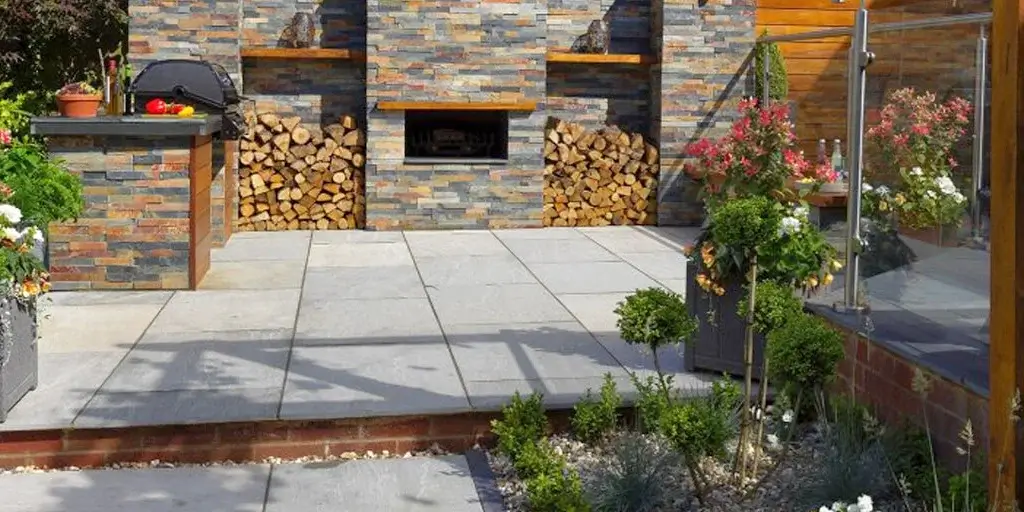
A well-kept garden evokes the feeling of a peaceful, serene haven where you may escape the hectic world outside and enjoy nature’s bounty of vibrant flowers, thick foliage and clear skies. Use this time to rethink the structure and style of your garden as the season draws near. Using natural stone pavers in your design is one easy method to make your yard look better and feel better as well. The best design option for that is stone pathways. These pathways improve the overall appearance of your outdoor space in addition to giving it a more secure feeling.
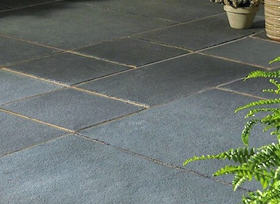
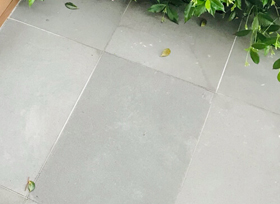
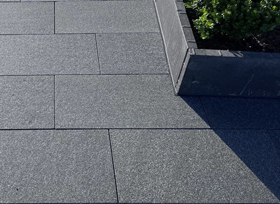
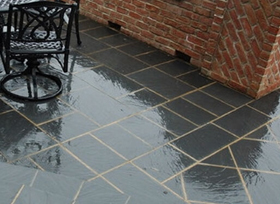
Nothing extremely complex needs to be done in order to have an impact. Just stone pathways can completely change the appearance of your landscape. Travertine is recognized for its traditional sophistication, whereas Bluestone is famed for its everlasting appeal. However, Granite stone pathways is your greatest option if you’re seeking for a minimalist look to create a modern feel.
Let’s check out how easy it is to install stone pathways in a garden:
Choose Your Stone
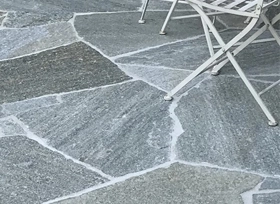
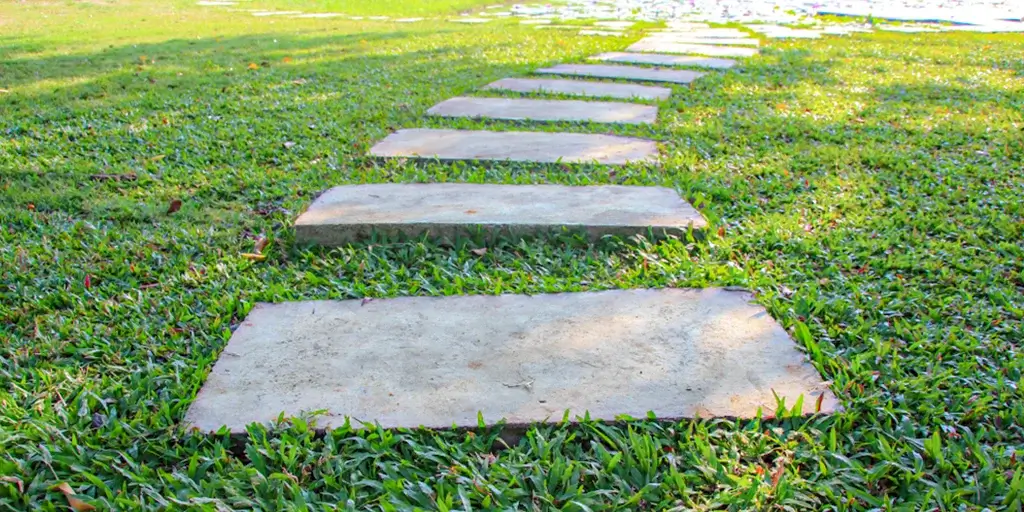
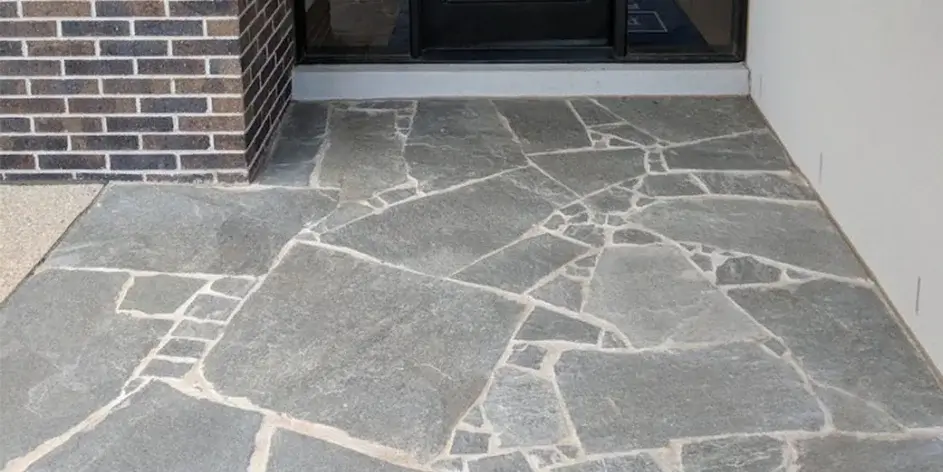
Any wide, flat pavers will work for a stone pathway; thus, selecting a stone is primarily a question of taste. Flagstone, which refers to a certain form of stone rather than a particular kind of rock, is used to construct most stone pathways. Selecting a variety that is readily available locally usually results in lower costs for both the rock and the delivery. Generally, 2 to 3 inches of thick flagstone is good.
When using stone, make sure it has a natural surface and is thick enough to be sturdy (avoid using polished stone, which becomes extremely slick when wet).
Lay Out the Walkway
Use two garden hoses for a curved path or posts and string for a straight walkway to mark the route. Make sure the stone pathway is broad enough for two persons to pass by each other comfortably if it is utilized for a lot of traffic, as in the case of a path between a driveway and a front door. Paths that lead to hidden corners in the little gardens can be made only big enough for one person. Install hoses or strings on either side of the walkway.
Excavate the Path
Along the margins of the path, chop through the grass with a flat shovel or sod cutter, paying attention to the garden hoses or strings. Clear the walkway area of all grass and other vegetation, including any roots. For stone that is three inches thick, remove soil up to five inches deep to provide a level, smooth base. Firmly pound the soil using a hand tamp or just walk over the area several times.
Install Edging (optional)
If you would like, you can install edging material along both sides of the walkway by following the manufacturer’s instructions. There are numerous edge options that you can utilize, including pressure-treated wood timbers, plastic brick paver edging and galvanized metal. The grass or dirt bordering the route will aid in holding the stones in place if you choose not to use edging.
Put On The Landscape Fabric
Cover the entire route with garden cloth to keep the soil in place. As much as possible, try to use a continuous piece. If you have to use more than one piece, make sure the edges are at least 12 inches apart. Using a utility knife, trim the fabric along the path’s edges, then use landscape fabric staples to anchor it to the ground.
Include a Layer of Sand
Sand the landscape cloth with two inches on top. Using a 2x4 board that is marginally smaller than the path’s width, smooth the sand until it is level and flat. Before putting the stones, mist the sand with water to help focus and crush it.
Arrange the Stones
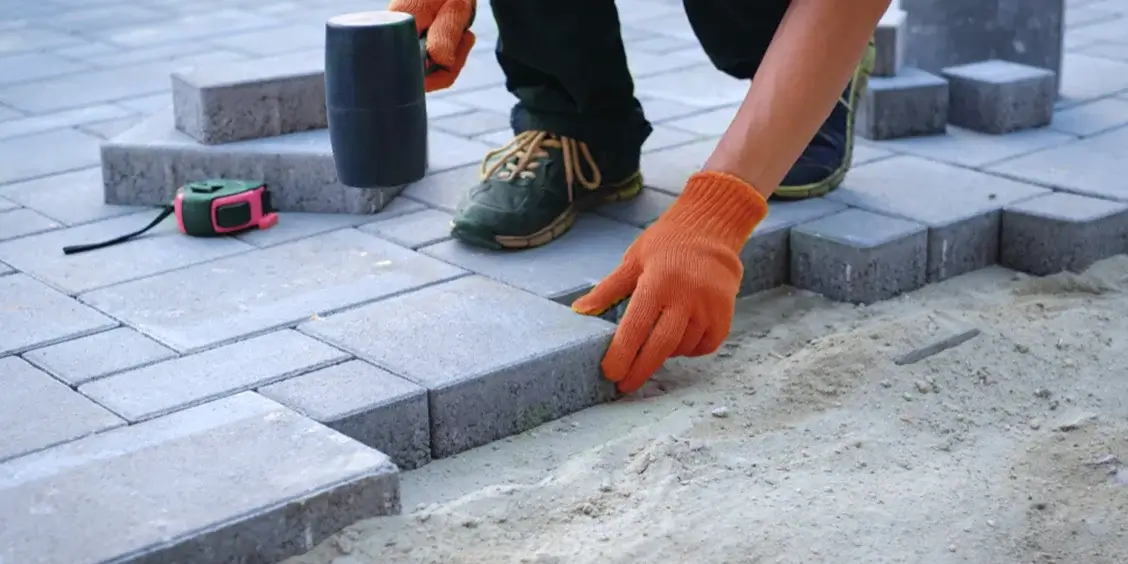
Place the pavers or tiles of the stone pathway in such a way that they are all visible on one side of the walkway. When laying the walkway, the aim is to be able to view the size and shape of each stone and select the one that best fits.
Put the Stones in Place
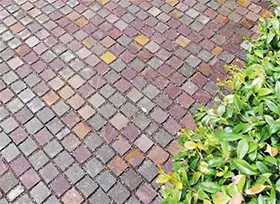
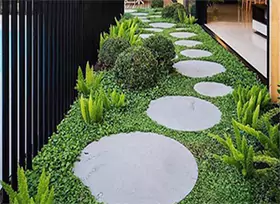
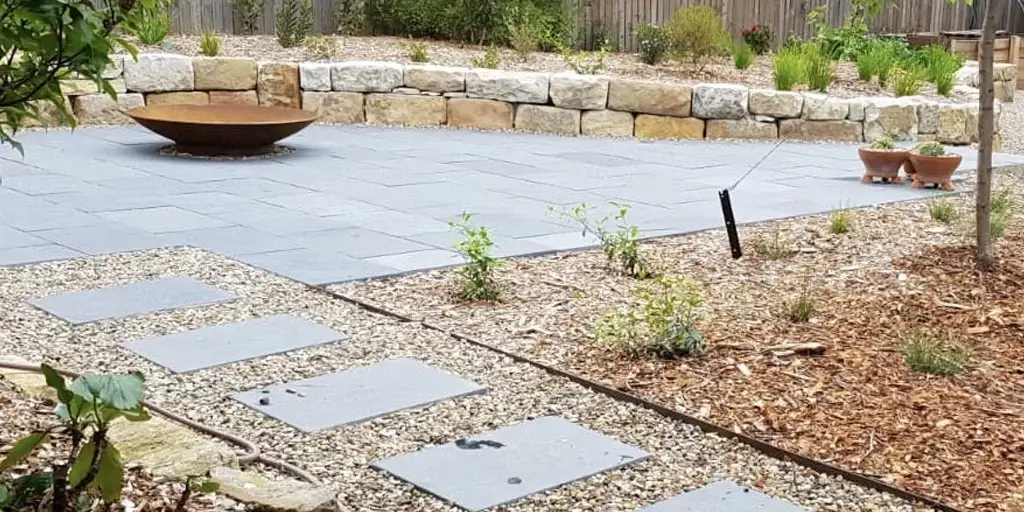
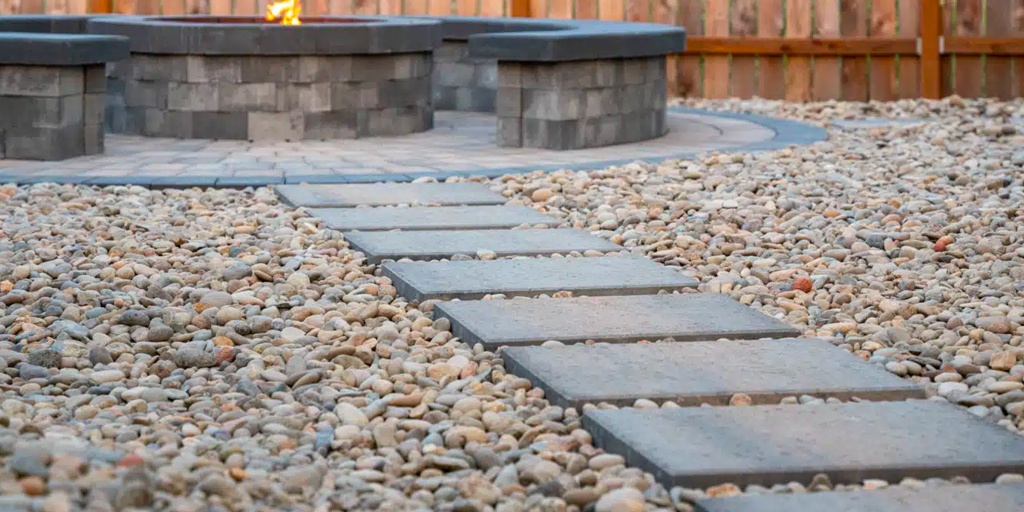
Start inserting the stone for the pathways on the sand bed, arranging them as you see fit. If you fill the spaces between the stones with gravel or sand, leave the gaps tiny; if you plant something in between the rocks, leave the gaps broader (approximately 2 inches). Make sure every stone is level with the surrounding stones and sturdy, meaning it shouldn’t rock. As you work, use a carpenter’s level to ensure each stone is level and level across to adjacent stones. Sand behind each stone can be added or removed to raise or lower it as necessary. For a natural, haphazard appearance, alternate between big and tiny stones as well as varied sizes and hues.
Fill the Gaps
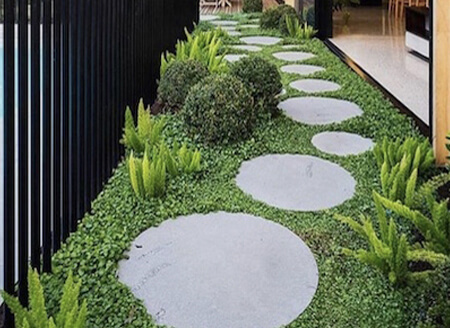
If desired, fill in the spaces between the pavers in your stone pathway with sand or gravel. Using a broom, spread the sand, wet the walkway to help it settle and then fill in the spaces once more, continuing until they are completely filled. When planting the walkway, use potting soil mixed with gravel to fill in any voids before adding “stepable” plants like bugleweed, sedum or woolly thyme.
DIY Enthusiasts: Crafting Your Dream Garden is Super Simple
Your garden is more than simply a landscape; it’s a representation of your personal style, a tranquil spot to unwind and a place to enjoy and create enduring memories with the people you care about. One must not sacrifice design for a space this unique. So go all out, use all of your imagination and check out the wide range of colours, textures and patterns to select the ideal pavers for your stone pathway.
You may easily accomplish a do-it-yourself garden project if you’re creative and have worked with natural stone pavers. Garden paving stones are incredibly versatile and may be used for a multitude of projects, from making intricate patterns to building unique borders.
Maintenance Tips for Stone Pathways
Make Use of a Superior Sealer
Hiring a professional to treat your stone pathways with a premium sealer is the greatest thing you can do for it. Your route gets a hammering from foot traffic, rainwater left on the stones from previous rainstorms and general wear and tear, which can lead to the stone breaking off. A natural stone sealer can help shield it from the weather and prolong its life to help prevent this harm.
Choose the Appropriate Cleaning Supplies
Even with adequate sealing, your stone pathways will eventually need to be cleaned. Regardless of how cautious you are, dirt and debris will still end up on your stones. Additionally, since you want your pathway to last for many years, you should only use high-quality cleaning solutions, especially for masonry and porous stone.
Handle Weeds in the Springtime
It’s common for weeds to appear in the strangest locations, like your stone pathway! Weeds can destroy the attractiveness that your stone walkway offers in the spaces between stepping stones, along route margins and occasionally in the center of your stone patio. You should use a weed killer in the early spring to get rid of the weeds before they become too much of a bother.
The Final Takeaway
This is how you can use durable materials and install the pavers for your stone pathway. Play around with the pavers and edging stones and think of inventive design ideas to make your garden stand out from other gardens around. The only thing stopping you with our elegant yet understated natural stone selection is your imagination. To create the garden of your dreams, you can select from Slate, Sandstone, Limestone, Bluestone and Quartzite. Sydney is home to many wholesalers with a comprehensive range of stunning pavers for stone pathways. Selecting a trustworthy supplier with premium quality pavers and an immaculate track record is vital. One such wholesaler, Stone Depot, is known for its excellent customer service and large product range. Check their product range today to know more and explore the paver options.
*Disclaimer: All information and advice given above in the blog are to the best of our knowledge. Please reconfirm at your end before execution.


