Looking for a durable driveway, a charming pathway or a vibrant patio?
If you are reading this blog post, you are on the right path. Pavers are an easy way for homeowners to add aesthetics to their outdoor areas and add value to their homes. Whether they are creating a patio, driveway, walkway or pool deck, pavers help bring a lot of design possibilities.
What Are Pavers?
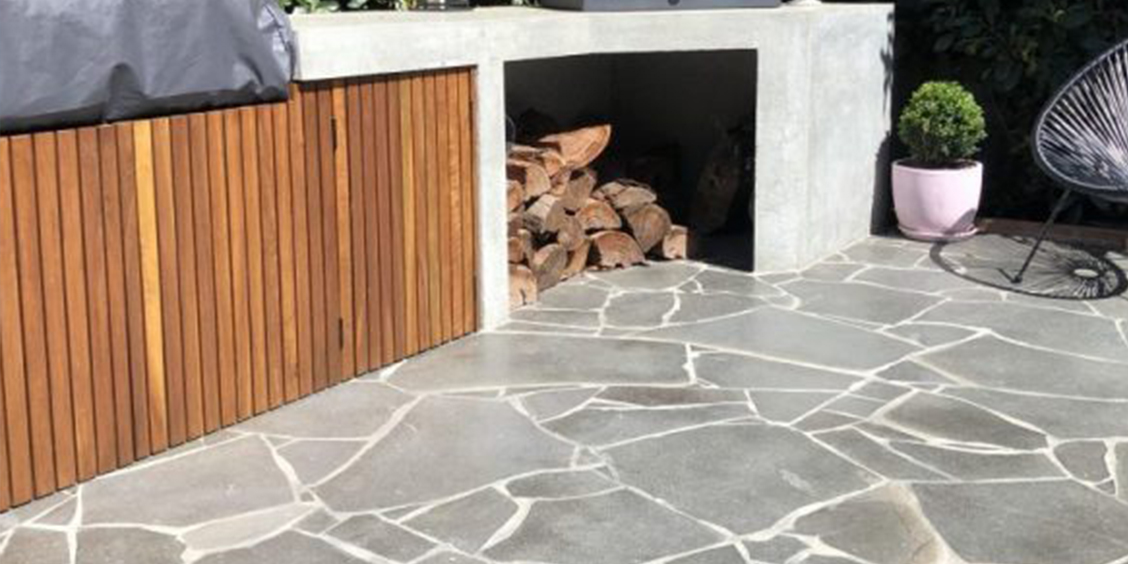
Pavers, also known as paving stones, are loose pieces of natural stones that are put together in a pattern to create a space such as a driveway, patio or walkway. Pavers, which are durable and easy to install, are a popular option of materials for DIY landscaping. To ensure that your product is practical and aesthetically acceptable, knowing how to install pavers correctly is essential.
How To Install Pavers: Plan the Layout
A successful paver job requires a proper layout. Preparing a scaled area design is the first step to understanding how to install pavers. Think about where you want your path, driveway or patio to be.
You must experiment with your design, so use a pencil while planning a layout. It is so that you can clean it afterwards. If you want your project to be safe and enduring, it will need appropriate drainage. Also, make sure it slopes away from your house and other buildings. Regarding drainage, you should have a slope of at least 1/8 per linear foot; some people recommend a 1/4 slope per linear foot.
Here is the step-by-step procedure on how to install pavers:
- Check the Slope: The first step of preparing the layout is to ensure that the location you intend to lay the pavers has a slope and drainage system that works well. This will ensure that water does not pour and damage the pavers.
- Excavate: The area's highest point can be as high as an inch above grade, provided the lowest piece is at an angle. Remove four-and-a-half inches of soil in addition to the pavers thickness to make place for the four-inch gravel bed and a one-and-a-half-inch sand base. The lowest surface of the pavers must be one inch above grade. Following the lines slope, excavate the remaining patio.
- Lay a Stable Base: Apply a layer of crushed stone, gravel or sand to create a sturdy base for the pavers. Providing a sturdy foundation will prevent the pavers from shifting or settling over time.
- Use the right tools for installation: How to install pavers can become daunting if you don't use the necessary equipment, such as a compactor, a level, measuring tape and a rubber mallet. These tools will help you accomplish a quality and consistent installation.
- Start with a small area: Choose a small space and start with that area. Then you can progress to the rest of the area. It helps you install the pavers correctly and make any necessary changes then and there itself.
- Install the pavers cautiously: Carefully installing the pavers are critical. You must ensure they are level and correctly spaced. Align the pavers and make any necessary alterations with a rubber mallet.
- Fill the joints: After installing the pavers, fill the joints between them with polymeric sand or sand. This will assist in keeping the pavers in place and keep weeds out of them.
- Seal the pavers: Finally, consider sealing them to keep them looking good for years and protect them from damage caused by scratches or strains.
Here are some Do's and Don't:
- Don't cut corners
During excavation, it is essential to ensure all gas and phone lines are marked. As your base preparation must stretch beyond its finished size, you must excavate the entire region. When overpreparing, the base material is recommended to extend equally over the paved edge.
For instance, if your patio measures 20 feet by 10 feet and you are laying a base of 6 inches of granular material, you must excavate an area measuring 11 by 21 feet.
- Accurately measure the necessary base material
What depth of base materials is required? While there is no single guideline for how much depth is needed, recommendations vary according to the use. The measurements for pedestrian pathways are 4,6 inches and for driveways are 8,12 inches. Depth requirements are also affected by local soil conditions. To make drainage easier, clay bases typically need to be dug deeper. You can contact our experts at the Stone Depot website for further guidance.
- Never install plastic underneath any paving project
Some landscapers use plastic, hoping it will stop weeds from growing, which is a wrong approach. Plastic will trap water, which could lead to other issues. Usually, seeds begin at the top of cracks and grow their roots downward. Utilising high-quality polymeric sand and ensuring that joints are filled to within 3 mm (1/8 inch) of the surface are the best ways to avoid weed growth.
It is best to practise laying down a layer of geotextile before adding your granular base if the area is entirely composed of clay or another material with poor drainage. This will act as a mechanical barrier to stabilise the clay and prevent it from contaminating your high-quality sub-base materials.
- Don't just throw your building supplies in
Most conventional plate compactors can only compact a base that is 4 thick. If you attempt to cram a base that is 6 inches thick, you will only shrink the top 4 and the remaining 2 will settle over time. Your base must be compacted in layers between 3 and 4 thick. You should fill and consolidate your base in stages if you've chosen a 6 base.
Don't be scared to add some water if your essential components are dry. It will lessen the amount of dust and aid in compaction.
- Pace yourself
To have a good, thick, consistent layer of bedding material when you enter the levelling course, you want the foundation to reflect all your completed grades accurately. The rest of the project will be simpler to complete the longer you spend on the base.
Setting the slope for drainage should be done at a slope of 1% to 2%. If you are using a 4 level, getting a precise read on the slope might occasionally be challenging. When using a 4 level, a handy tip to help set the slope for drainage is to tape a spacer beneath one end of the level; when you read it as level, this implies you have your slope.
As an illustration, a 1% slope requires a 12 fall over 4 feet. When the bubble is in the centre and a 12 spacer is taped to one end, you have your slope.
- Use the right kind of bedding
Avoid using limestone screenings or stone dust because they typically contain too many fines (dust), which retain water and lead to the pavers failing more quickly.
The use of sand is universal. You can also use a tiny chip of stones in place of sand. Because it drains freely and is simple to deal with in various climates, this material is becoming increasingly popular among landscapers.
Lastly, prepare as much space with the bedding course as you can lay the pavers on that day. Otherwise, you risk re-levelling the entire area because of unforeseen rain or foot traffic.
You may have a sturdy base to support your pavers and guarantee the long-lasting quality of your project according to the steps mentioned above.
Is maintenance essential while installing pavers?
If pavers have been appropriately installed, maintenance is typically not a problem. Your paved surfaces should have durability, and the natural look of the stone should go on for years and years. To keep your pavers colour and appearance, you might need to reseal them periodically. Additionally, it aids in shielding the pavers from stains, algae and loss of joint sand. The pavers should be swept and cleaned frequently. It is essential if your pavers are in shaded or wet places since moss growth and efflorescence (chalky salt deposits) might occur there. Because power cleaning will move the joint sand, it is generally not advised.
Explore Premium Pavers with Stone Depot
Installation of pavers also depends on the quality of the product. Going for commercial or standard-grade pavers might result in wear and tear. Worry not! Stone Depot only offers premium pavers and tiles to fit all your design and construction requirements. We offer a wide range of pavers, from Travertine to Limestone and from Marble to Slate Tiles. These durable outdoor pavers make them an excellent fit for all builds. Whether commercial or residential, you can add aesthetics and character to the area with our natural stone pavers and tiles. What are you waiting for? Ask for a quote or contact us for expert advice on natural stones today!
*Disclaimer: All information and advice given above in the blog are to the best of our knowledge. Please reconfirm at your end before execution.
*Disclaimer: All information and advice given above in the blog are to the best of our knowledge. Please reconfirm at your end before execution.