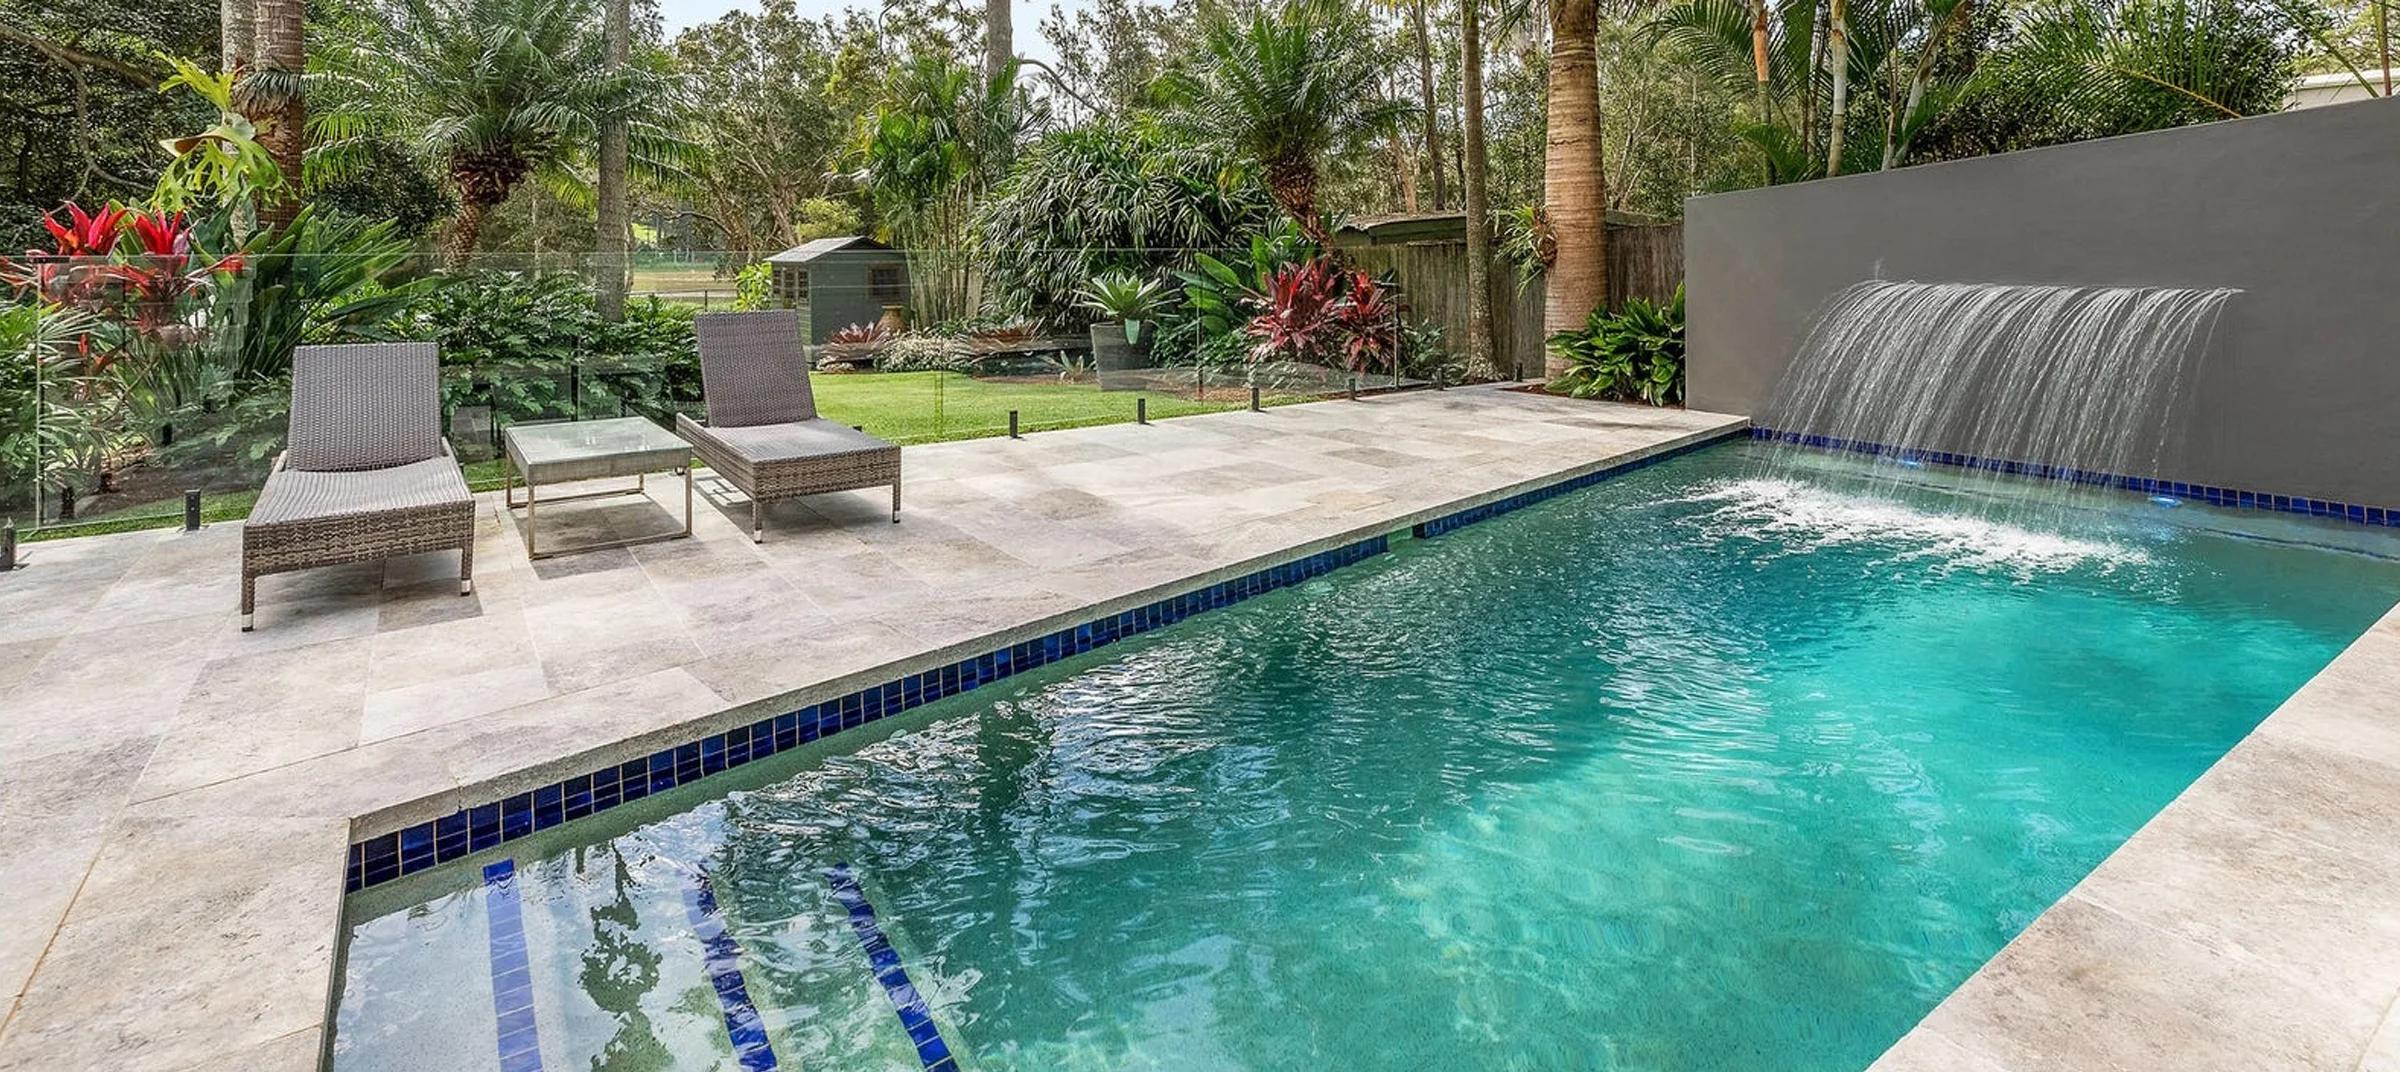
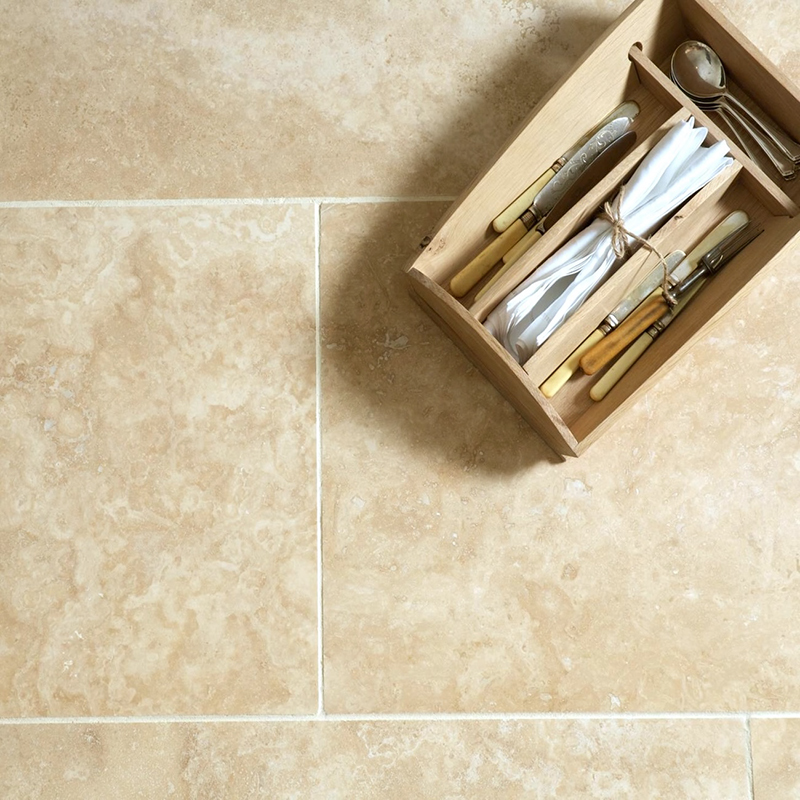
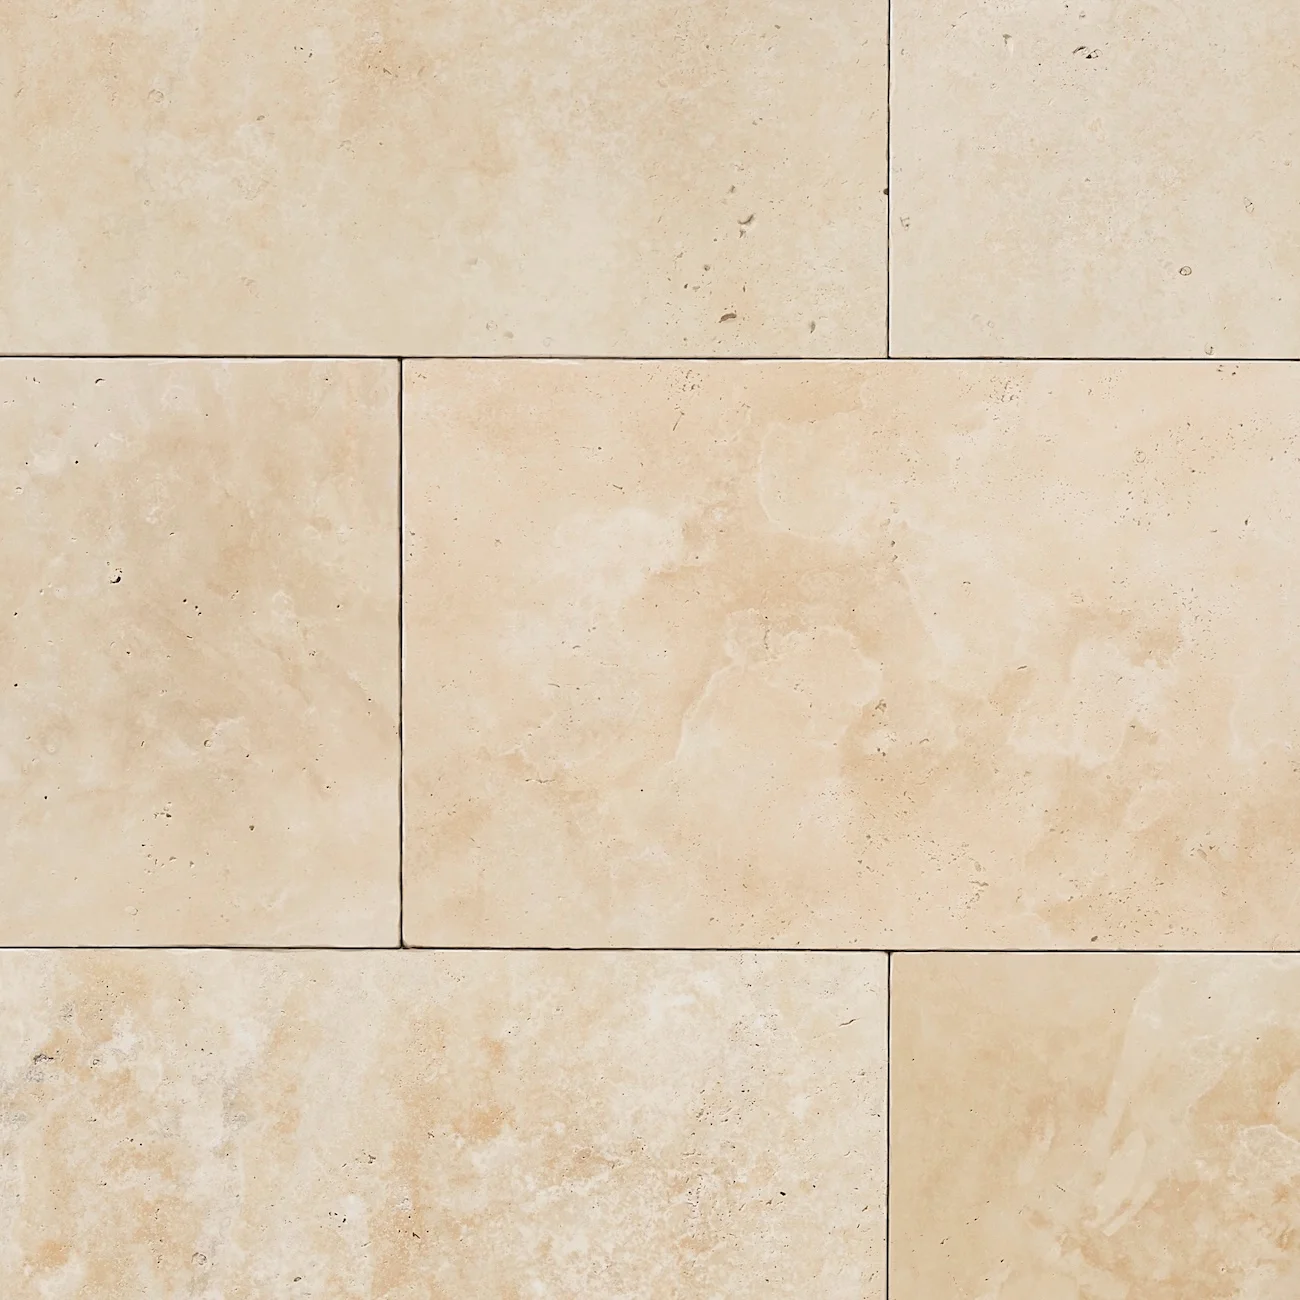
Travertine stone is a type of terrestrial Limestone formed by mineral deposits near hot springs and caves. Travertine typically displays a fibrous, naturally rustic texture, making it a popular choice for both indoor and outdoor applications. The durability of Travertine pavers and tiles, combined with their classic look, makes them the right choice for flooring and walling, patios, courtyards and more.
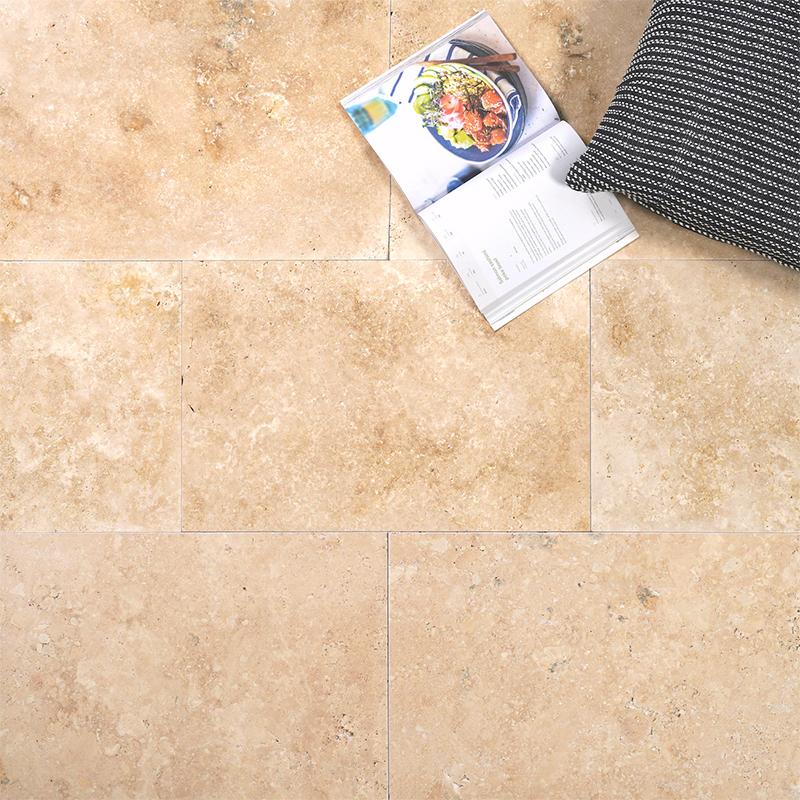
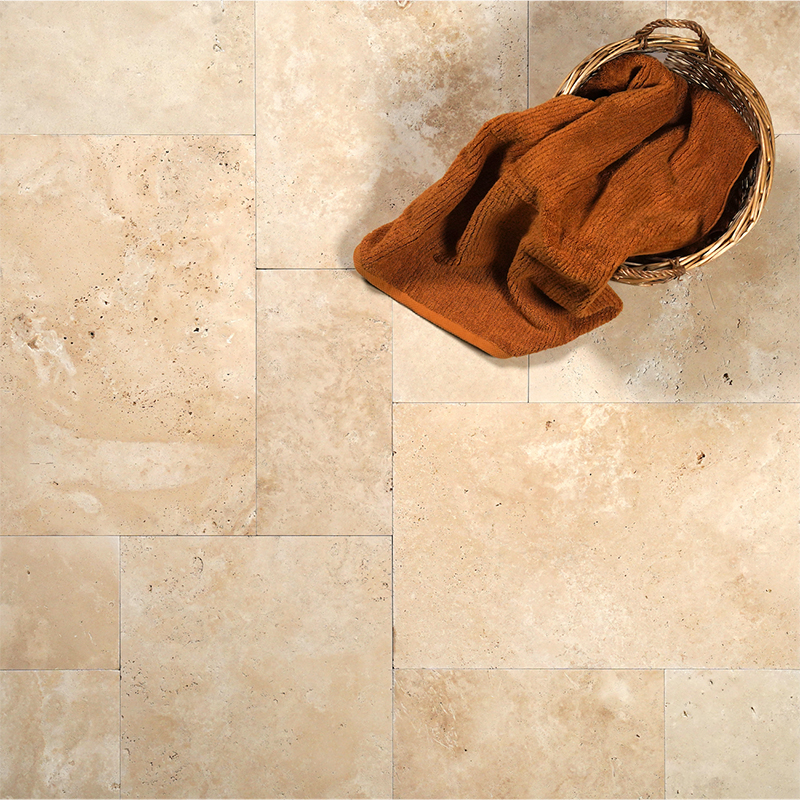
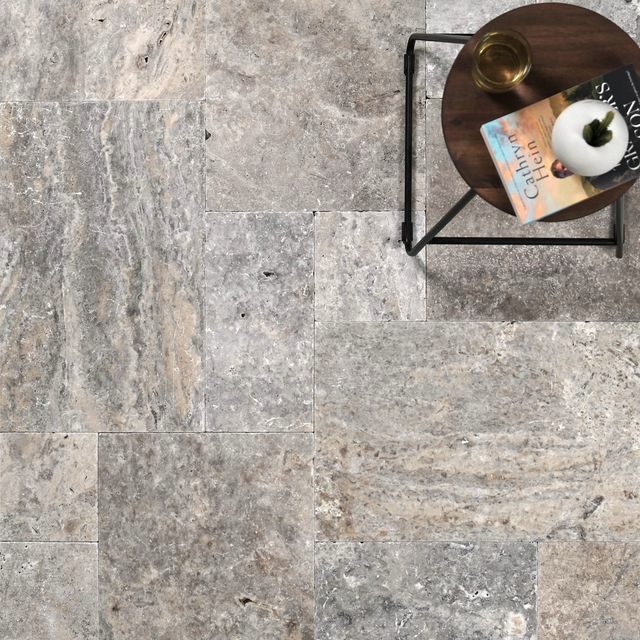
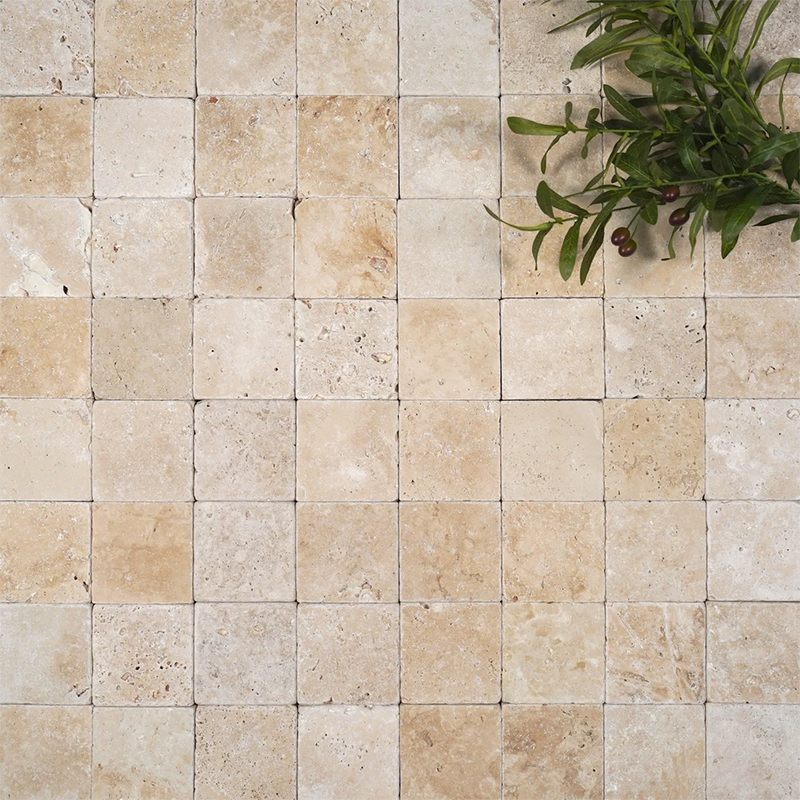
Our selection of premium Turkish Travertine pavers and tiles in Australia is an ideal choice if you are looking for sustainable building materials. We offer Travertine floor tiles and outdoor pavers in a range of colours and sizes, featuring earthy shades and raw veining pattern that blend beautifully with modern and traditional design schemes.
For performance-based installation, honed & filled Travertine tiles suit indoor floors and living spaces, while honed & unfilled Travertine outdoor pavers are preferred outside. Blending in with a variety of architectural styles, Travertine tiles and pavers add warmth and elegance to any space.
If you are looking for the best Travertine wholesaler in Australia, we are here to help. Our premium range of Travertine tiles, pavers and pool copings is unmatched and we deliver nationwide, including Sydney, Brisbane, Melbourne and beyond.