


Don’t just bring your barbecues outside; blow up the kiddie pool and dust off the sun lounger as the temperature rises. We love to bask in the sun as soon as it appears and that is why preparing your garden for the summer is worthwhile. Hence, we bring you tips to get your garden ready for summer.
For the time of year when it truly becomes an extension of our inside living space—another brilliantly vibrant room full of life for the whole family to enjoy—make sure your plants, as well as garden pavers, are in pristine condition.
To give your outside space the best chance of looking fantastic this season, here are some tips to get your garden ready for summer:
Make a Summer Scrutiny
Experienced gardeners understand how crucial it is to log what occurs in their gardens during each season. So, as the first tip to get your garden for summer, take a stroll while carrying a notebook and a pencil.
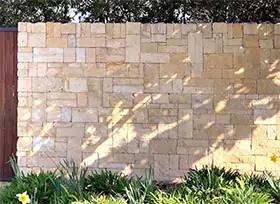
Examine plants for snow and ice damage and beds that require cleaning. Watch out for any animal or rodent damage to woody plants. Check for this because rabbits and other annoyances also burrow in people’s gardens. Additionally, while your plants are still dormant, see whether hardscaping needs to be repaired, like garden pavers or walling.
Get Your Tools Together
It’s time to give your old garden tools a makeover if they’ve been gathering dust and rust all winter. Your tools won’t infect your plants with the disease if you keep them clean and properly sharpened.
You should have no trouble cleaning the muck off your tools with a water jet. If the dirt has truly crusted, you might need to soak them in hot water first. Scrub away any last bits of debris with a strong wire brush. You’ll also need to wash off the garden pavers to give them a clean look.
You should occasionally oil ground contact and digging equipment like hoes to protect the blades or tines. Any oil made from vegetables should work. Avoid using oil on a petroleum basis since it can contaminate the soil.
Before using any of your tools, they should all be cleaned. Rubber alcohol or your homemade bleach solution are both good options.
Examine And Enhance Your Soil
Have your local cooperative extension office perform a soil test to learn more about your soil. It should be done before any renovations regarding garden pavers. They will guide you through the process: How much dirt to send from which garden areas and when to take samples are important considerations. The results, which will reveal what your soil lacks and how to improve it, should take two weeks to come in. You can also use a DIY kit, which might not be as comprehensive but will give you a general understanding of the nutrient levels in your soil.
Residential soil often needs to be improved, especially in new buildings where the topsoil may have been removed. Your soil can not only lack vital plant nutrients but also have poor drainage or be compacted. Usually, the answer is straightforward: add lots of organic materials. When you dig or till a new bed, add a 2- to 3-inch layer of compost to the soil. Leave the organic matter on the surface, ultimately converting into humus if you choose not to dig or work with an existing bed. Most of the task of incorporating humus into the subsoil will be performed by earthworms.
Look if Garden Pavers Needs Renovations
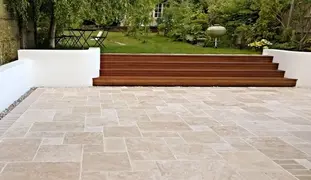
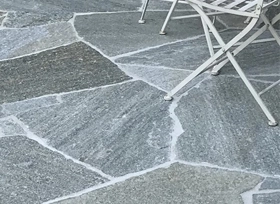
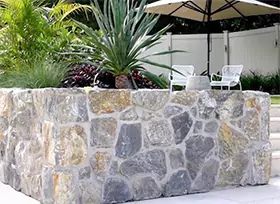
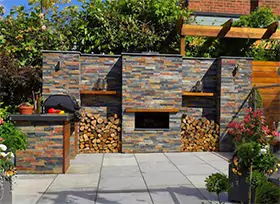
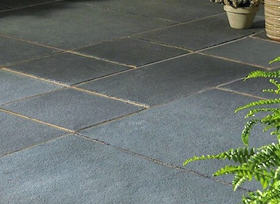
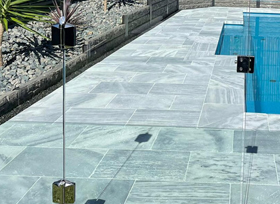
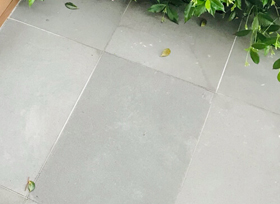
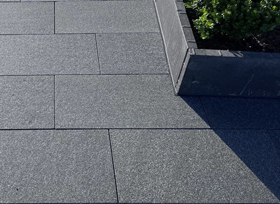
A stone garden that is aesthetically striking typically achieves this by appearing to have formed entirely by coincidence. Avoid utilising diverse types of garden pavers and instead use only those of the same kind to give this impression. Plants that don’t like lime can use garden pavers such as Basalt, Granite or Sandstone. In contrast, Travertine and Limestone are two types of garden paving stones that are appropriate for use with lime-loving plants. The next step is installing the garden pavers once you have determined what works best. Their larger surfaces should be positioned to face downward and look as natural as feasible. For this, a suggestion is to place bigger stones lower down the hill, atop one another and buried between smaller stones.
Several Benefits that Garden Pavers Offer
Utilising natural garden pavers in your garden design has several advantages. Here are a few justifications for their adaptability, safety and usefulness in all garden designs.
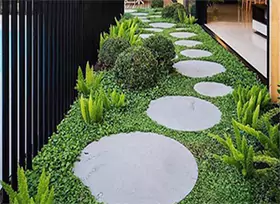
- To add a little decoration to your yard, you can include a new cobble pathway, a brick ledge or flowerbed, coloured chippings, pebbles or slate materials. Garden pavers allow countless decoration and design alternatives.
- Garden stones naturally inhibit weed development and act as a weed control measure. To avoid weeds growing, you can use garden pavers in place of or in addition to weed killer. The ideal garden stones are slate tiles because they help keep unwelcome weeds under the soil and assist the land in retaining moisture.
- Garden pavers can be utilised to drain extra water from your garden in addition to giving moisture. Particularly decorative garden pavers work wonders for drainage since they lessen the chance that excess water will ruin your foundations or the rest of the garden. The risk of damage to garden designs and foundations can be reduced using stone aggregates such as chippings and gravel.
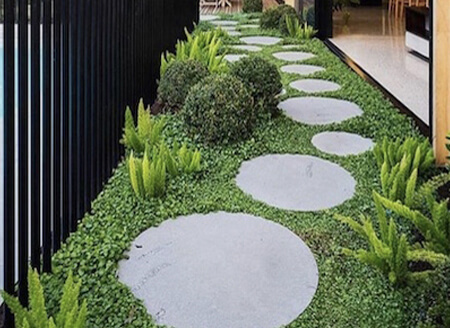
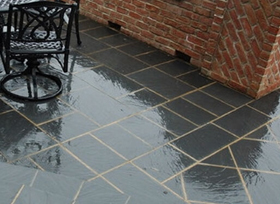
- Using stone in your garden can help you keep both the outside of your home and the inside of it clean. To create a walkway or pathway, garden pavers can be used. Making sure you don’t track any damp dirt or mud into your home during rainy weather might also be helpful.
Set Out Your Flower Beds
Before planting or sowing in new beds, loosen the soil to make it easier for roots to grow and reach the required water and nutrients. There are two techniques: hand digging or mechanical tilling with a rototiller or another tool. When you need to mix in a lot of adjustments, the first one is a suitable method. However, going overboard is simple, which may harm the soil’s structure. Small beds are easier to prepare by digging.
In either case, only work the soil when it’s dry enough to crumble when dropped and damp enough to form a loose ball in your fist. Digging in too-dry or too-wet soil is more difficult and might harm the earth’s structure. Gently move the top 6 to 8 inches of soil with a spade or spading fork while simultaneously incorporating the organic material from Step 4. Laying down plywood boards temporarily can help you distribute your weight more evenly because walking on prepared beds compacts the soil.
Protect Your Garden with Mulch
Add a few inches of mulch to the soil to help keep weeds out and moisture in. You won’t need to water as frequently and by shielding the soil from sunlight, you’ll stop weed seeds from sprouting. Just be careful not to mulch over any seeds you intend to plant, or they might not even sprout.
Choose from a wide range of mulches, each with its own advantages, such as river rock, straw and chopped-up bark. The soil will be nourished when the organic mulch decomposes, such as bark, compost or cocoa bean shells (which also smell delicious). Choose a mulch that breaks down in a few months for a vegetable garden or a bed of annual plants. For perennial plants, use mulch that will remain longer, such as bark chips.
Maintain Your Garden Regularly
Keep up with garden chores as your garden grows to ensure it reaches its full potential. Don’t let the plants dry out; water them. Eliminate weeds before they flower. Get rid of any infected, sick or dead plants. To clean the garden pavers’ surface of detritus such as leaves, dirt and twigs, sweep the area or use a leaf blower. They won’t get dirty or slippery because of this. If you see any stains, try to clean the garden pavers as soon as you can. Scrub the area with water and mild detergent for small spots. Use a specialised paver cleaning or a water and vinegar solution for harder stains. Any cleaning product should be tested on a small, discrete area first.
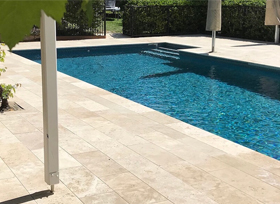
The Final Takeaways: In conclusion, following these tips to prepare your garden for summer is crucial to establishing a comfortable and useful outside area. The overall appearance and practicality of your garden are greatly influenced by the garden pavers, which are frequently regarded as the hub of everything. You can ensure that your garden pavers stay in fantastic condition all summer by investing in premium quality stones. We at Stone Depot have a wide range of garden pavers, from Travertine to Granite.
*Disclaimer: All information and advice given above in the blog are to the best of our knowledge. Please reconfirm at your end before execution.