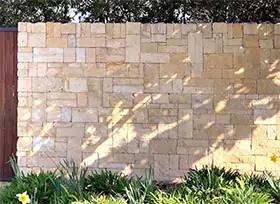
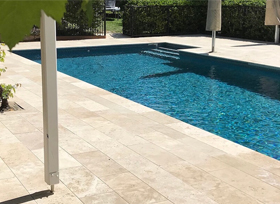
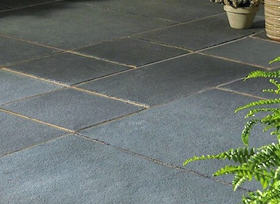
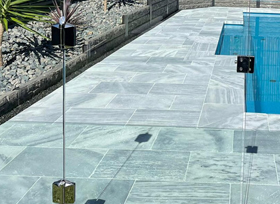
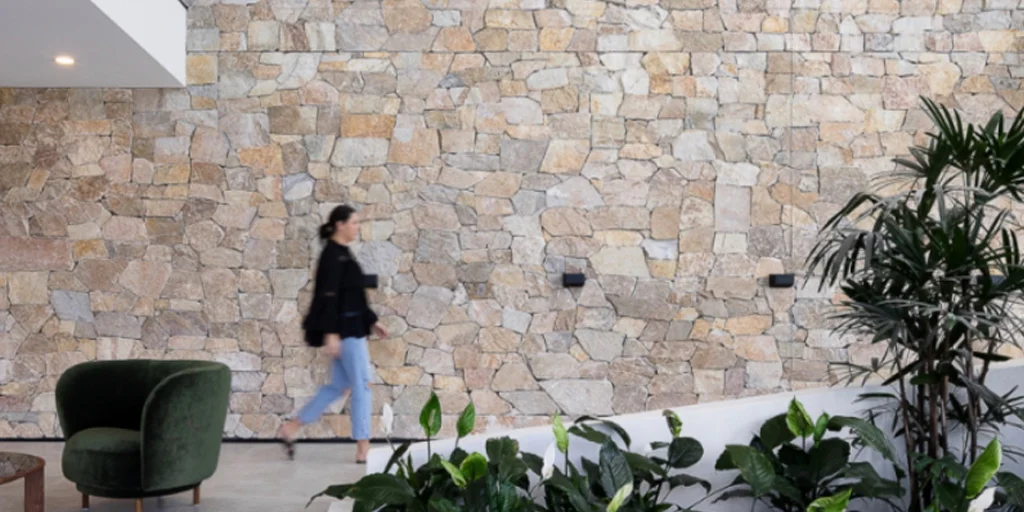
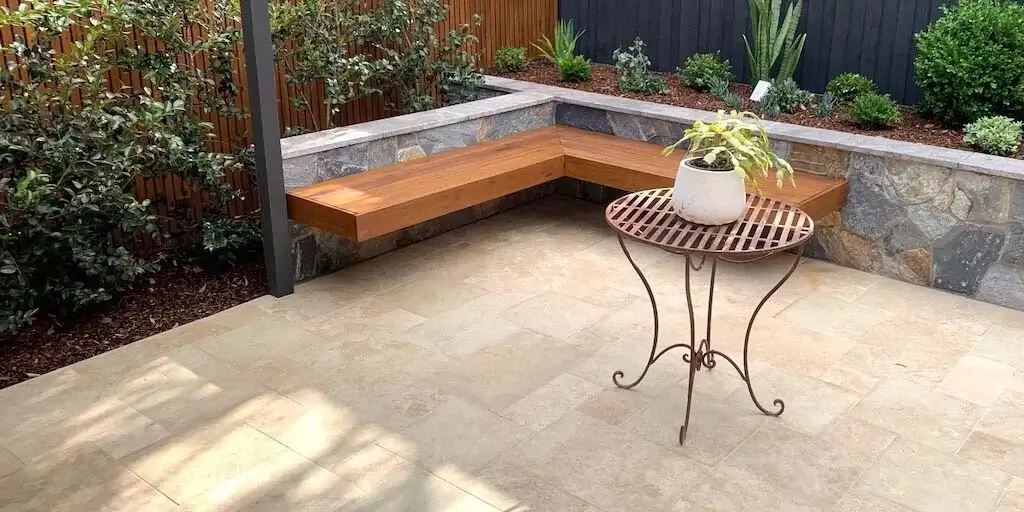
Stone Retaining Walls have been a prominent feature from old times. Besides their functional value, they add an indisputable charm to the aesthetics of the property.
The soil or water behind a retaining wall is held back or "retained" by retaining stone walls. They provide soil to the soil, preventing the soil from moving downhill. These walls are common in areas with unsuitable terrain, where the landscapes must be severely engineered for certain purposes, such as hillside farming, the construction of an overpass, etc. Additionally, retaining stone walls are used in areas where the landscapes need to be severely configured or engineered and confine soils between two different levels. Sand, earth filling, liquid pressure, soil, or another substance may be used as the component behind the retaining wall that presses against it.
Homeowners often erect retaining walls on their property around trees, in the garden, or as a boundary wall to claim ownership of the space. Several materials are used to create these walls, from timber and bricks to natural stones. Here are the main types of materials:
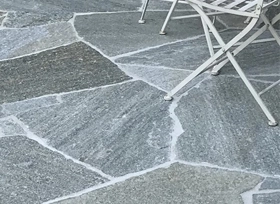
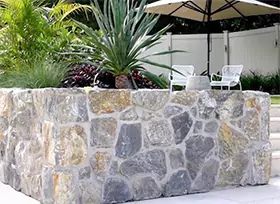
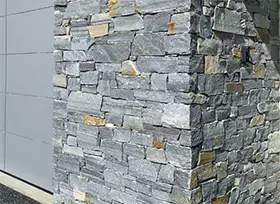
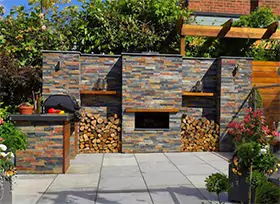
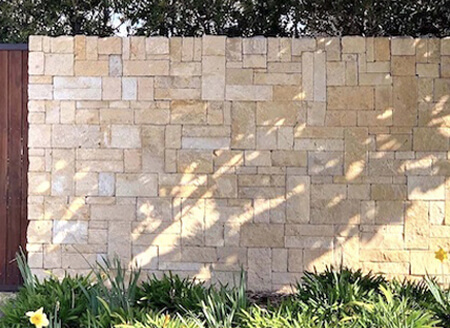
- Natural stones- Natural stone often looks natural and is suitable for smaller walls. Some of the finest beautiful stones can be found here.
- Wall blocks- Using an interlocking mechanism, segmental retaining wall blocks are processed to hold a wall together and strengthen its structure.
- Wood- Railroad ties and wood timbers also offer a rustic appearance and work best when building smaller walls. However, do keep in mind that wood does not last as long as stones do and will eventually rot.
- Concrete- It is ideal for retaining stone walls that need to endure extreme flooding. Concrete walls are unsurpassed by any other material for their ability to serve as your home's foundation. They are not always the greatest option because they do necessitate a footing below the front. However, just because your wall is made of concrete doesn't imply it will look like a concrete slab. These walls can be veneered with a wide variety of artificial and organic materials.
Steps to construct Natural Stone Retaining Walls
Bring together the stones
Sort the retaining wall stones into several piles according to their size and form. The largest and flattest stones should be used for the wall's foundation. Then the widest, smoothest, and most attractive stones should be saved for the capstones at the wall's top. To preserve overall uniformity, keep in mind that odd-sized and odd-shaped stones can be mixed in with more regular stones. You can also use a brick chisel and maul to remove peaks and other forms as necessary to make them fit when building.
Set up a Level Line
To identify the location of the front face of the wall's base, use wood stakes and a mason's line. The front of the trench for the wall base is likewise represented by the string. The trench's breadth (from front to rear) ought to be at least half the height of the entire wall. For instance, the trench needs to be at least 15 inches broad if the wall is 30 inches high. Before tying the string off to the stake, level the line by placing a line level on it, pulling the string taut from one end, and then levelling the line.
Excavation of the area
Excavate the area, working your way back toward the slope from the string. To make a flat, level trench for the gravel base and first course of blocks, which will be below grade, dig down 12 inches into the ground. If necessary, dig into the slope to make a 6- to 12-inch-wide opening for drainage rock between the backside of the wall and the slope. As you progress, take measurements from the level line to make sure the excavation is level.
Add Landscape Fabric
Landscape fabric strips that are set perpendicular to the front of the wall and reach a few feet above ground level should be used to cover the excavated area. Place neighboring fabric strips 6 inches apart. Use a utility knife to trim the strips to the proper length. Please note that the fabric strips are not plastic.
Building of the Wall Base
At least five inches of compactable gravel should be placed in the trench. Rake the gravel to make it flat and level, then use a hand tamp or a leased power tamper to firmly compact it. Over the gravel, add a 1-inch layer of coarse sand. With the use of a short 2x4 board, level the sand.
Lay the First Level
To erect the first course, place big, flat stones along the trench's front border. Sand should be added or subtracted from beneath each stone as necessary to keep their tops flat with one another. To check that the stones are level as you work, place a 4-foot carpenter's level set across several of them.
Time for the Second Course
Like the 1-over-2 pattern of bricklaying, atop the first course of stones, place the subsequent course, offsetting the joints between the stones. The wall becomes stronger as a result. Additionally, place the front faces of the stones half an inch apart from the front of the first course (facing the slope). As a result, a little stair-step pattern is created, which aids in the wall's ability to withstand pressure from the slope. Make sure there is as little wiggle as possible when you set each stone. To avoid wobbling, use small, flat rocks as anchor.
Backfilling of the Wall
Add drainage gravel to the area between the wall and the slope. The gravel should be levelled and raked before being properly tamped using a hand tamp. Only backfill up to the wall's topmost course.
Install More Courses
The third level of stone is next laid, with the junctions with the course below being spaced apart and each course receiving half an inch of batter. Install "deadman" stones at this stage. These stones can sit on the ground's surface or are deeply buried in the dirt. Every four feet, place a deadman stone to level the stones from front to rear. Gradually add gravel to the wall as you go further.
Complete the Top of the Wall
Fold over the drainage gravel with the landscaping fabric as you get close to the top of the wall. You can do this before the final one or two regular courses or before the capping stones for growing grass, depending on how much earth you want at the top of the wall. Place the final course of stone to complete the top of the wall. The capstones can optionally be attached to the course below using masonry adhesive to help keep them in place.
Backfilling With Soil
Trim the landscape canvas so that the top of the wall is just above it. If desired, cover the landscaping fabric and add dirt to the area behind the top of the wall. This area needs a soil layer that is at least 6 inches thick to support grass growth.
Concluding
The dry-stack method, which does not employ mortar between the stones and does not require a concrete footing as mortared walls do, is the simplest way to construct a stone retaining wall. Water can pass right through dry-stack walls because they drain well. This aids in lowering hydrostatic pressure. This pressure caused by damp soil behind the wall is the main reason for retaining walls failing. The longevity of the wall and its structural integrity will both be preserved by proper drainage. By backfilling the wall with rock, dirt cannot push through the wall's stone fractures and drainage is encouraged through the wall. Stone Retaining Walls can be built in Ledge Stone Walling style or Freestyle Walling style.
*Disclaimer: All information and advice given above in the blog are to the best of our knowledge. Please reconfirm at your end before execution.


