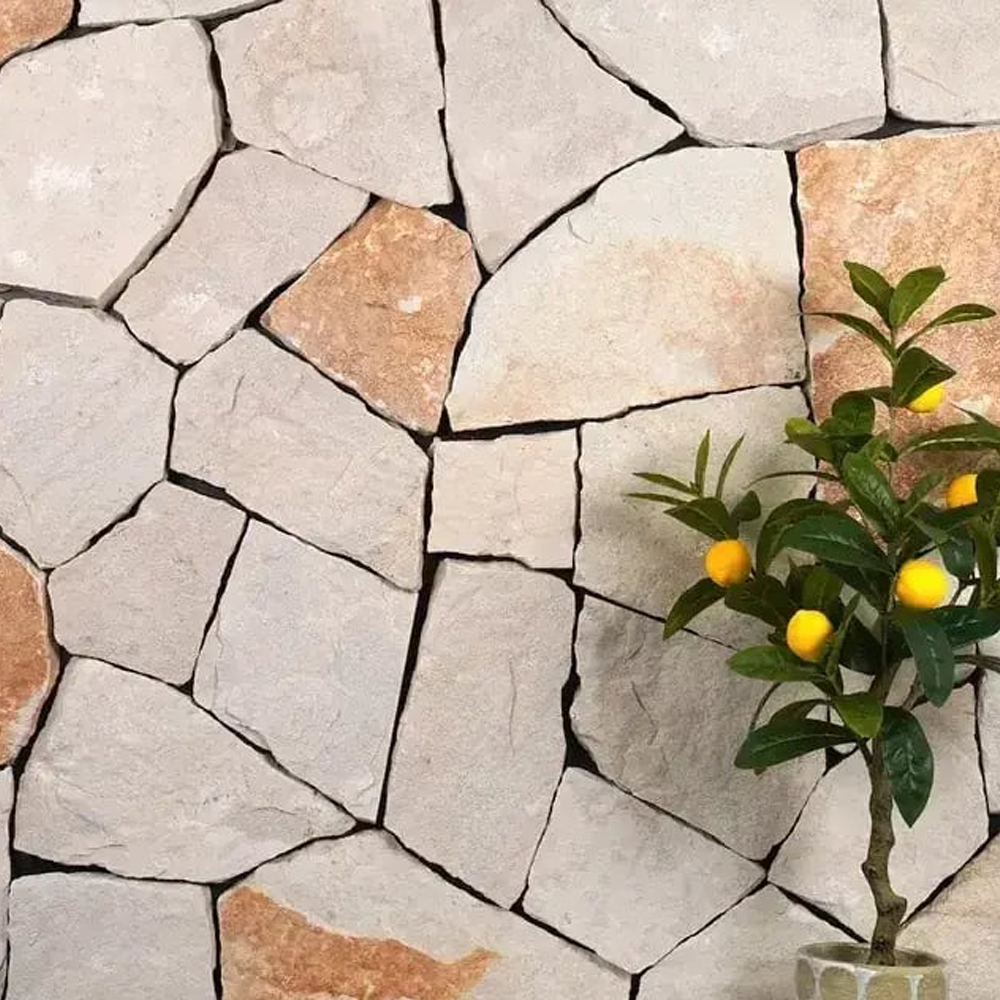
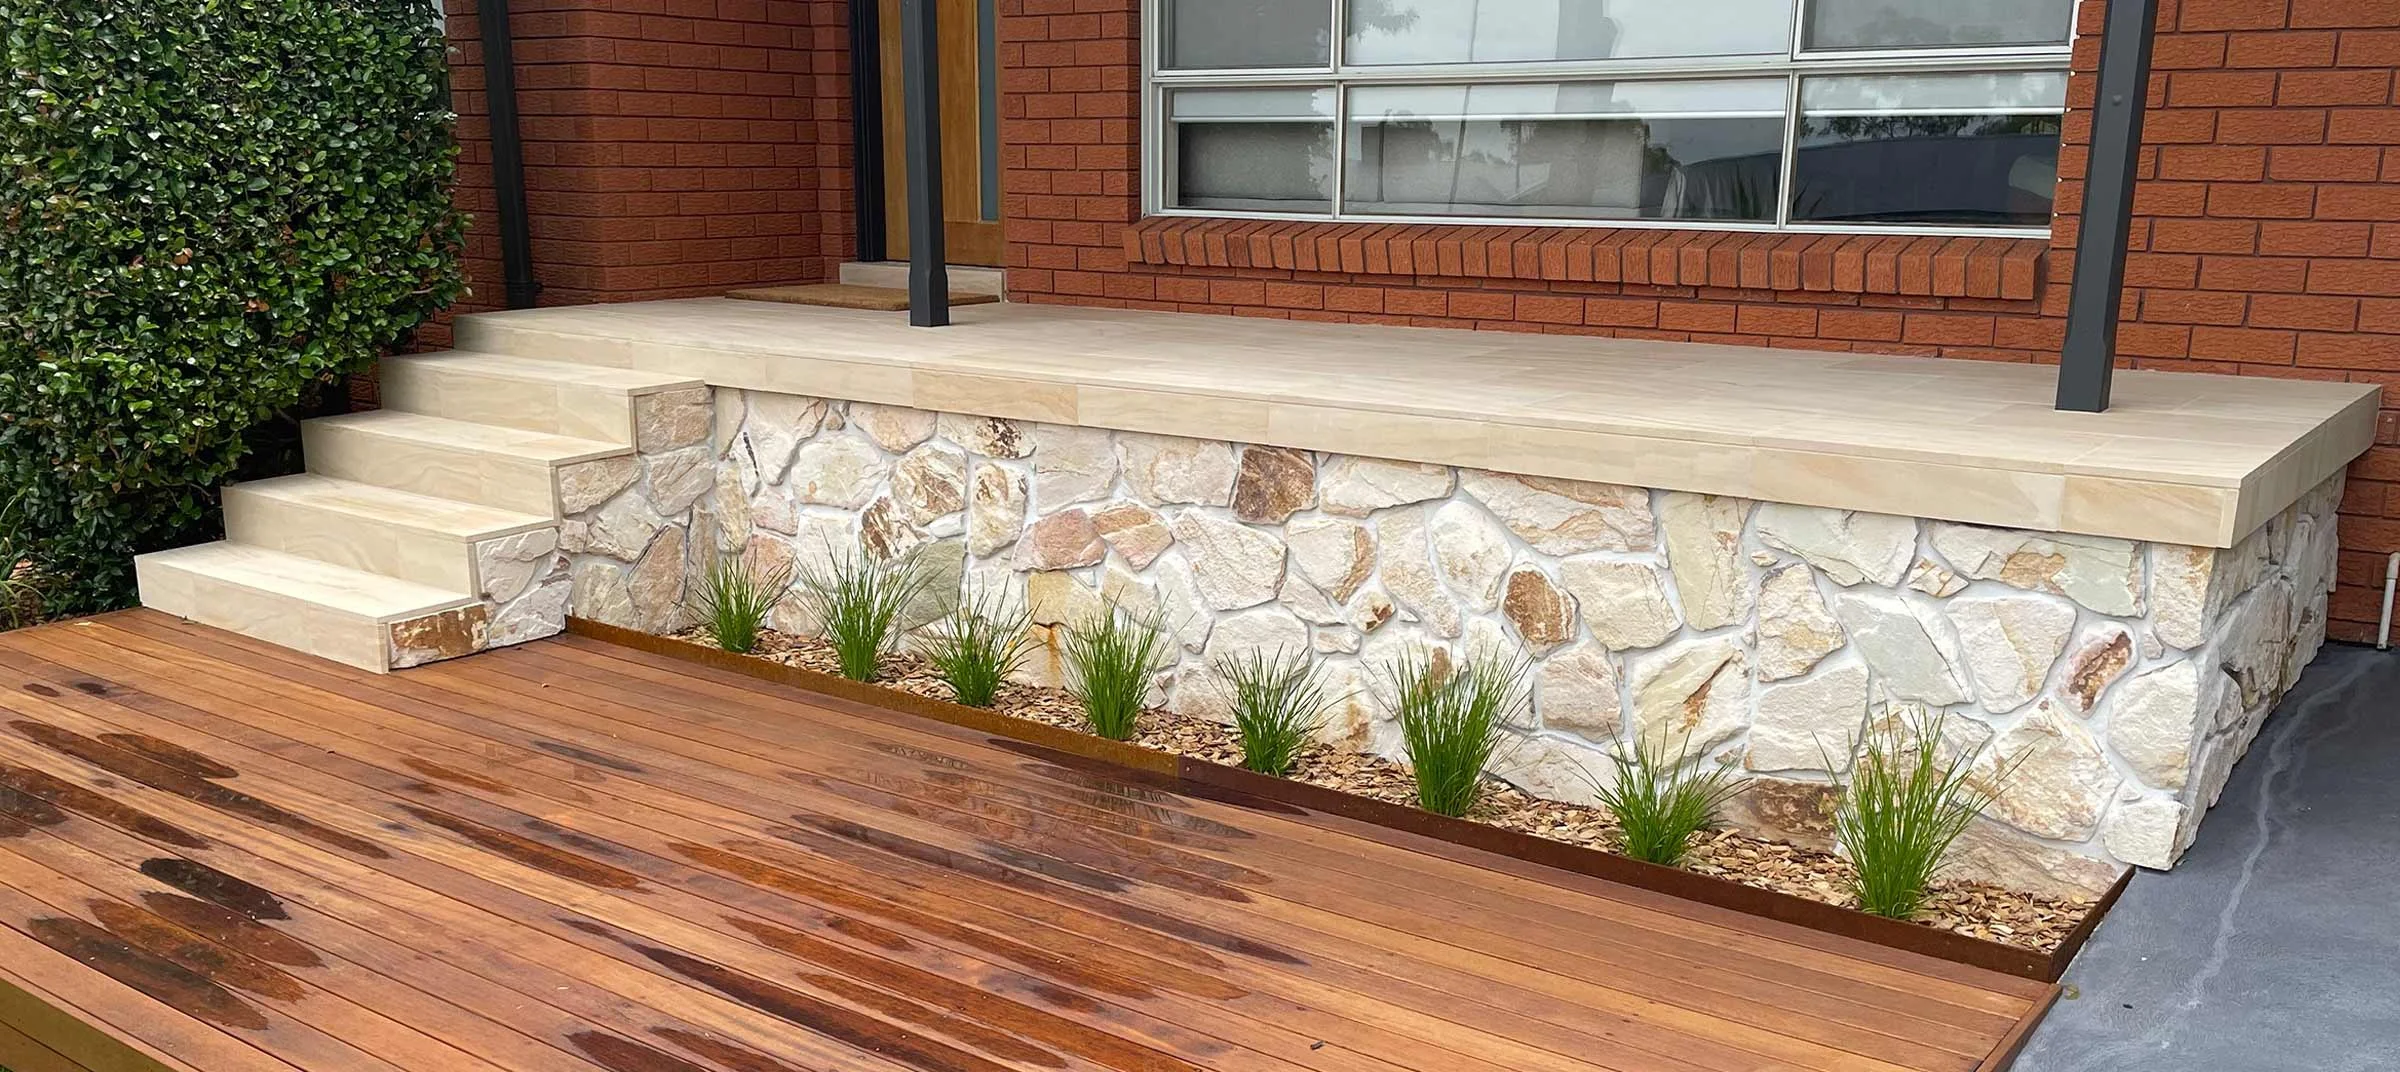
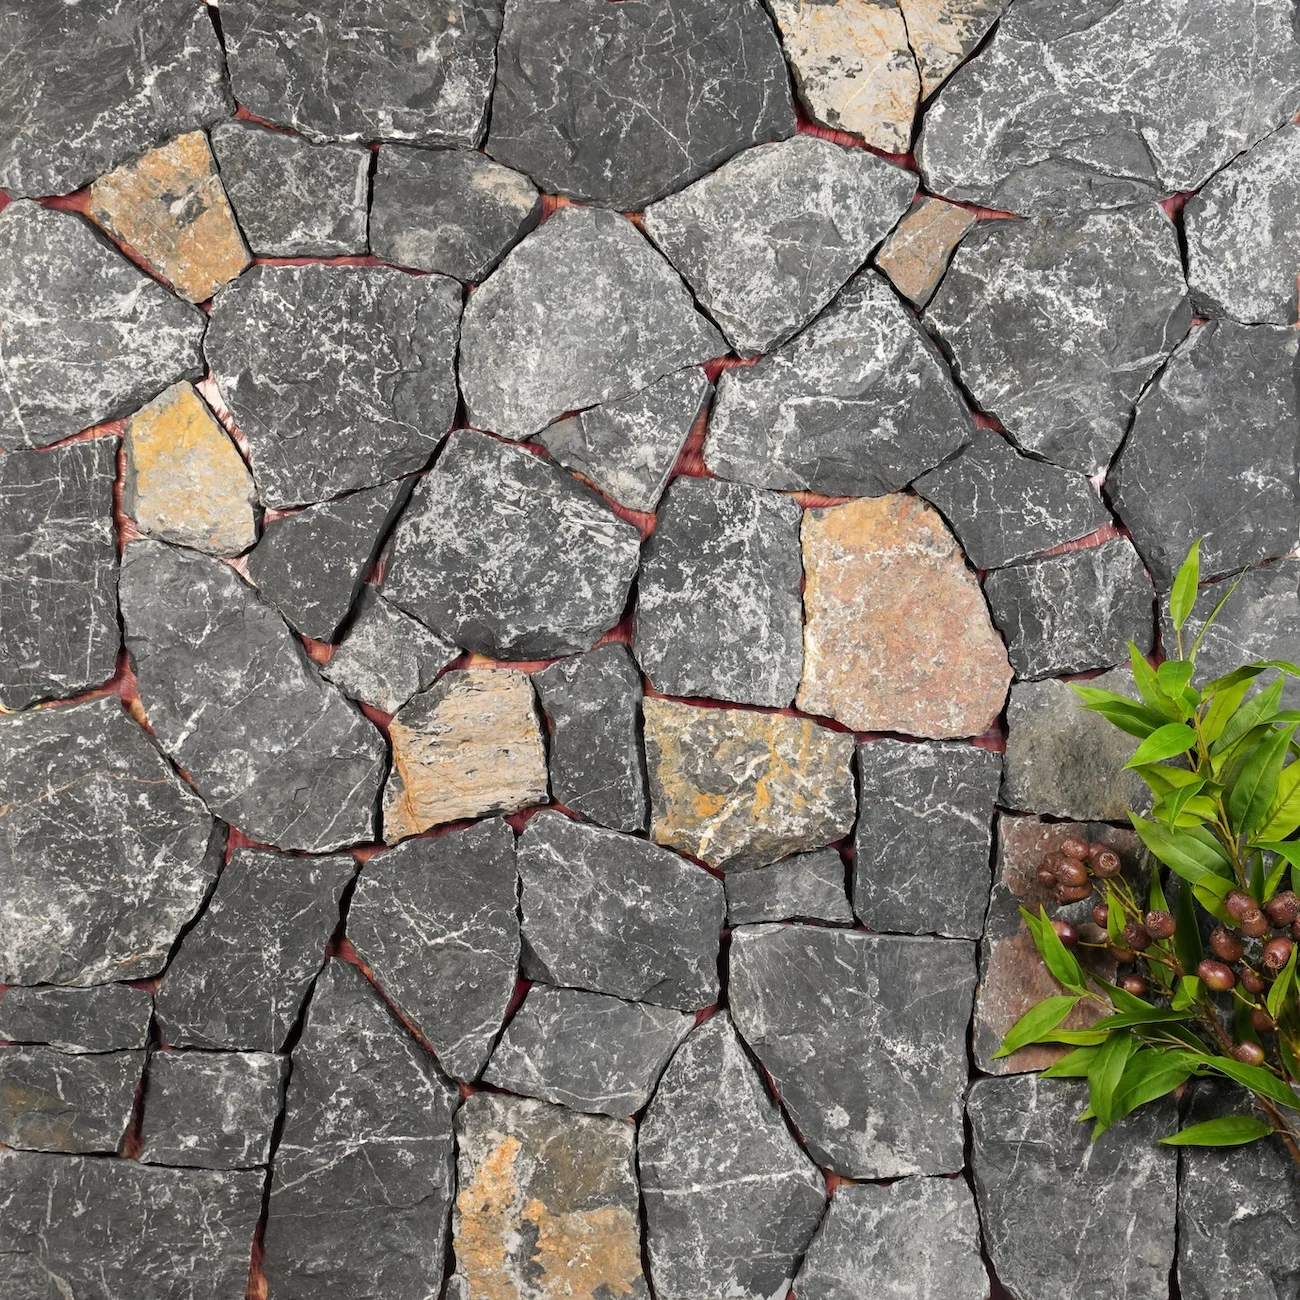
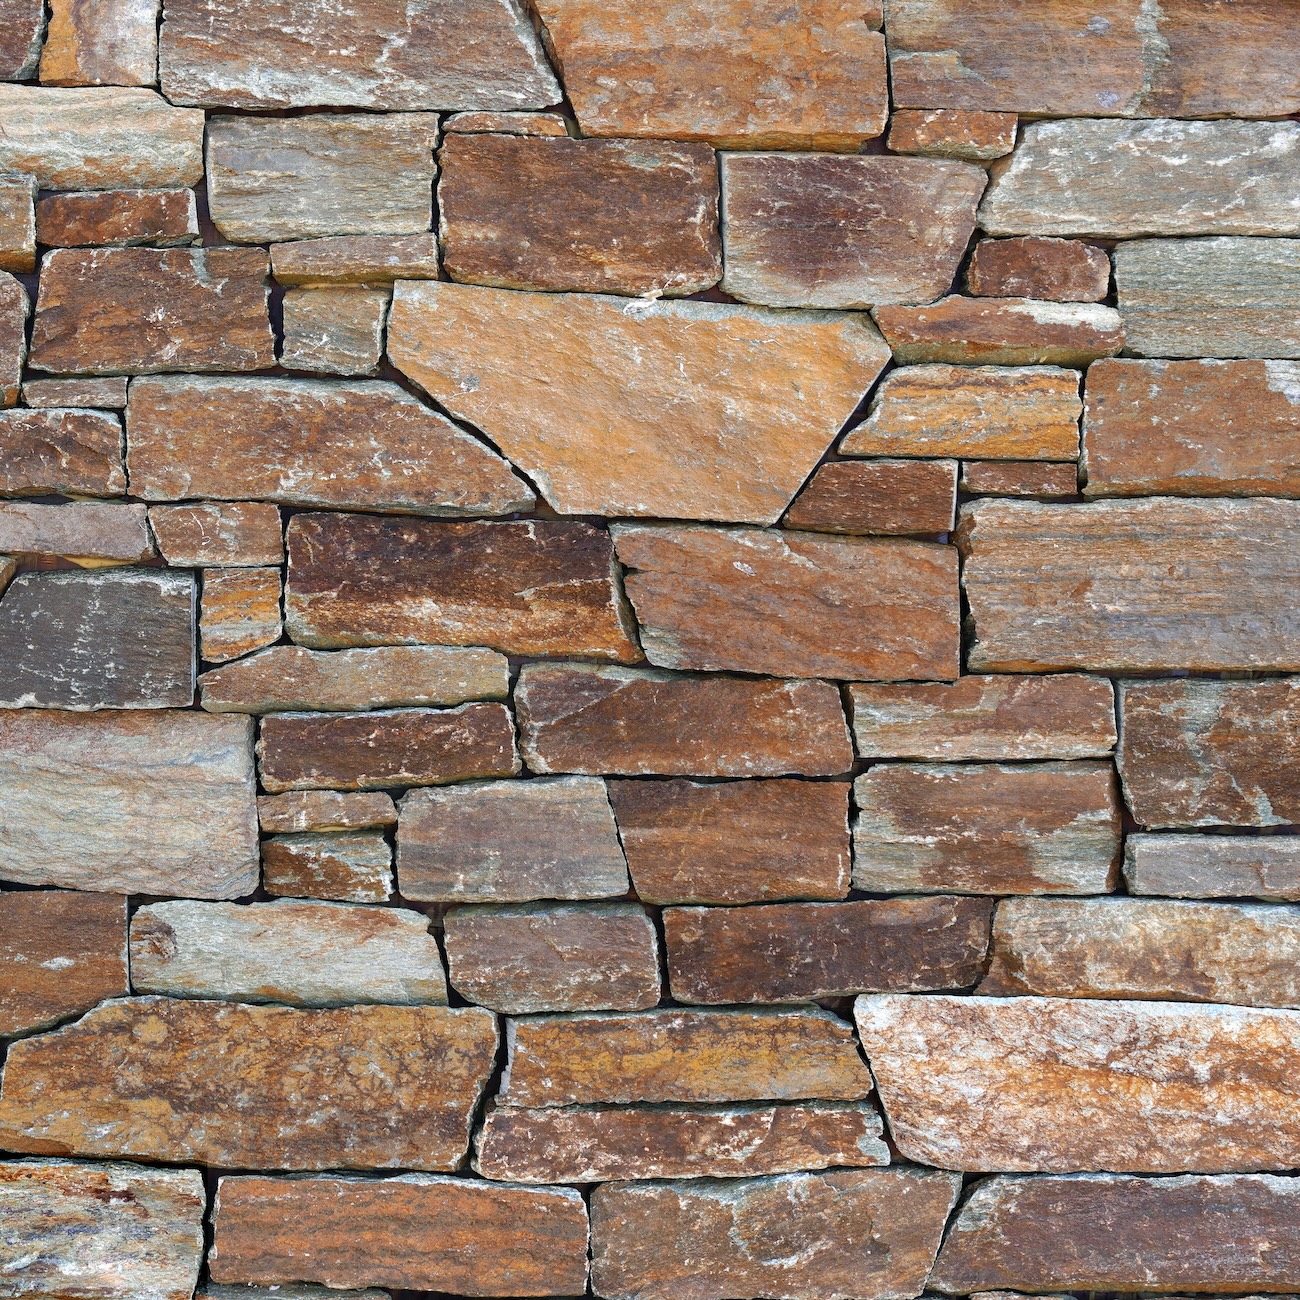
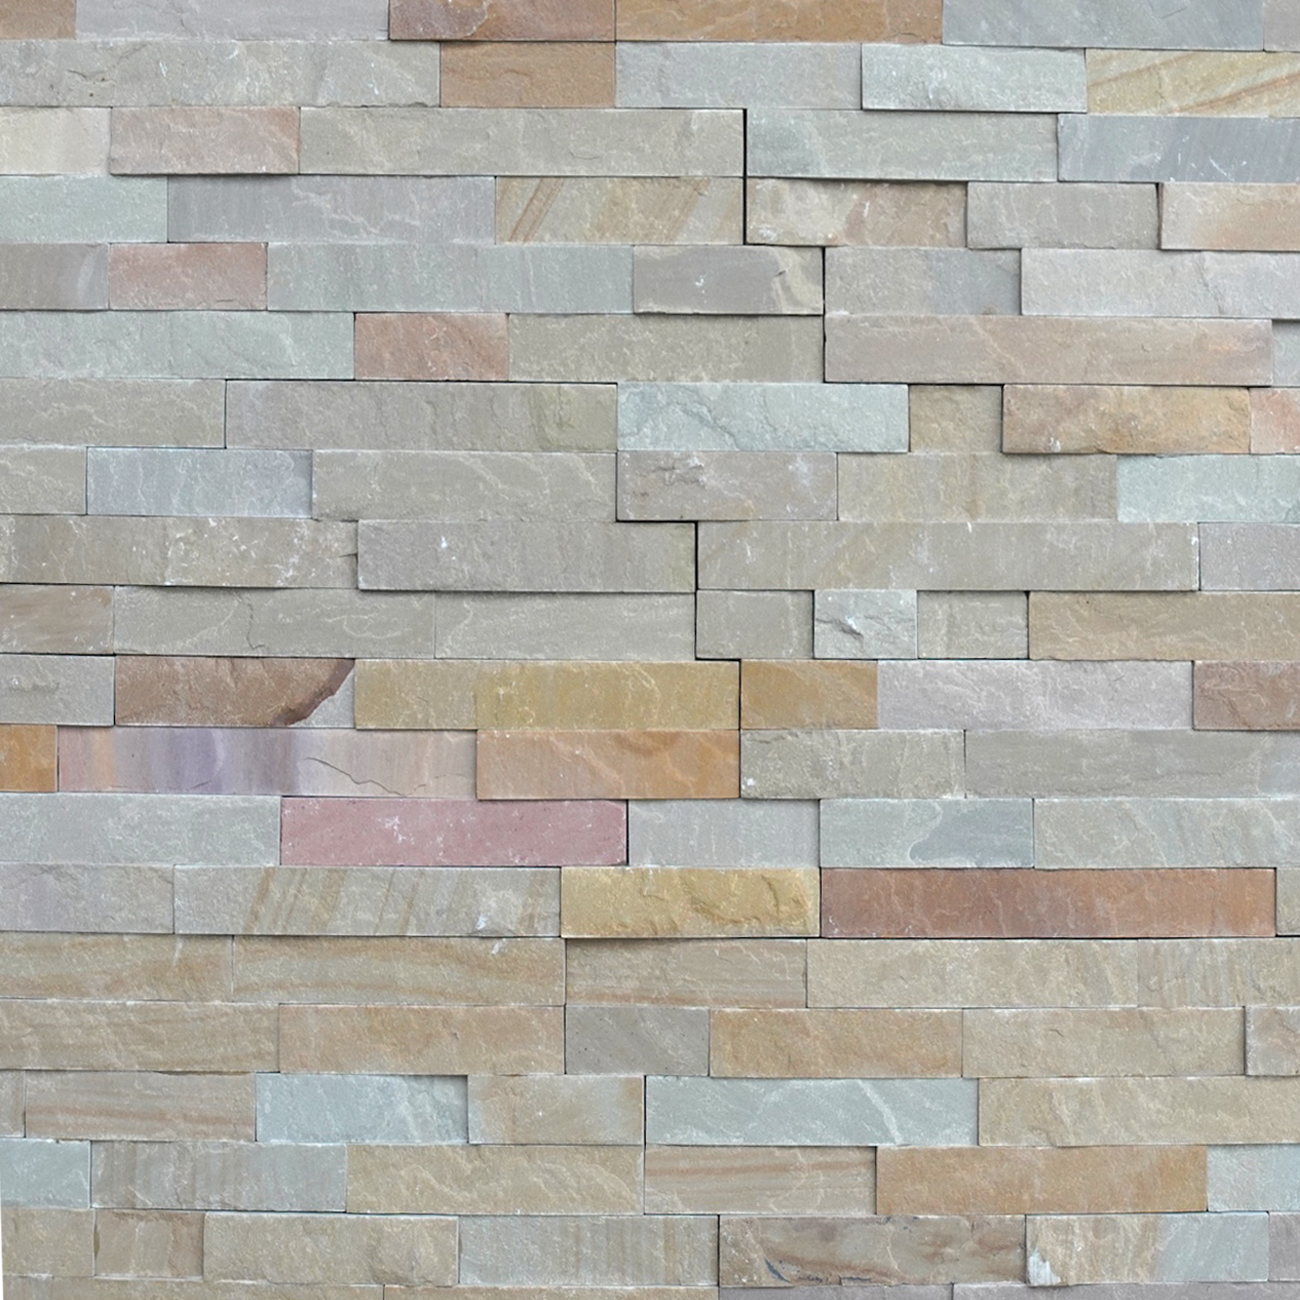
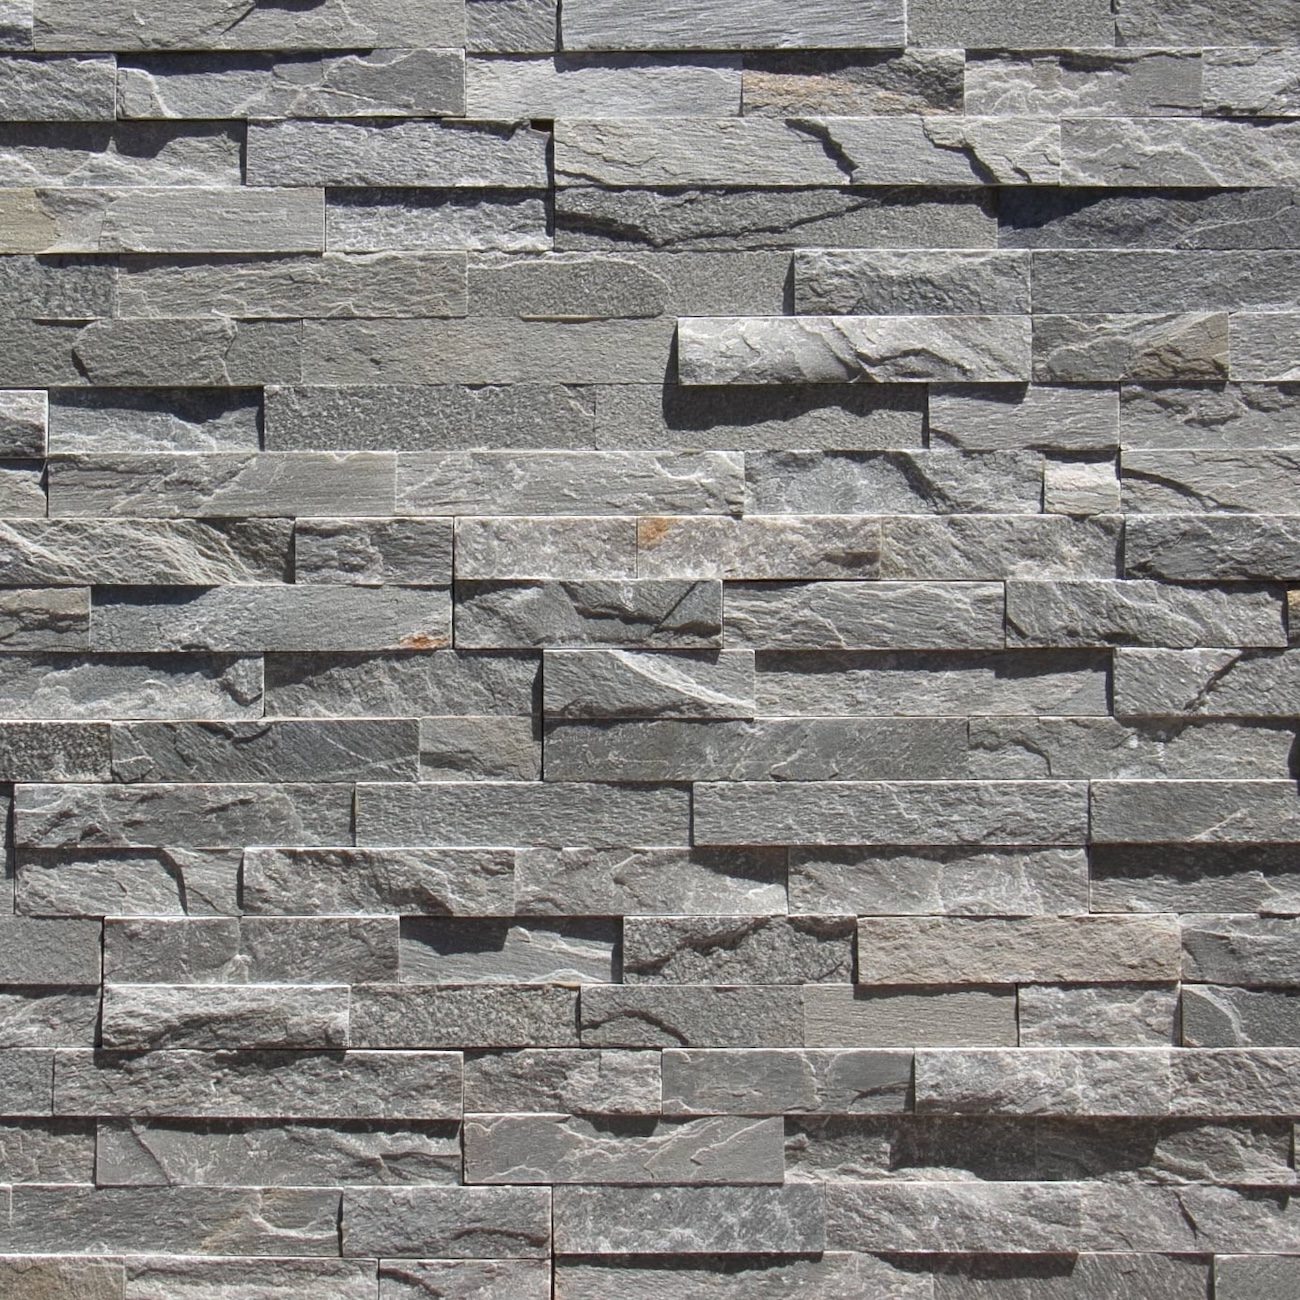
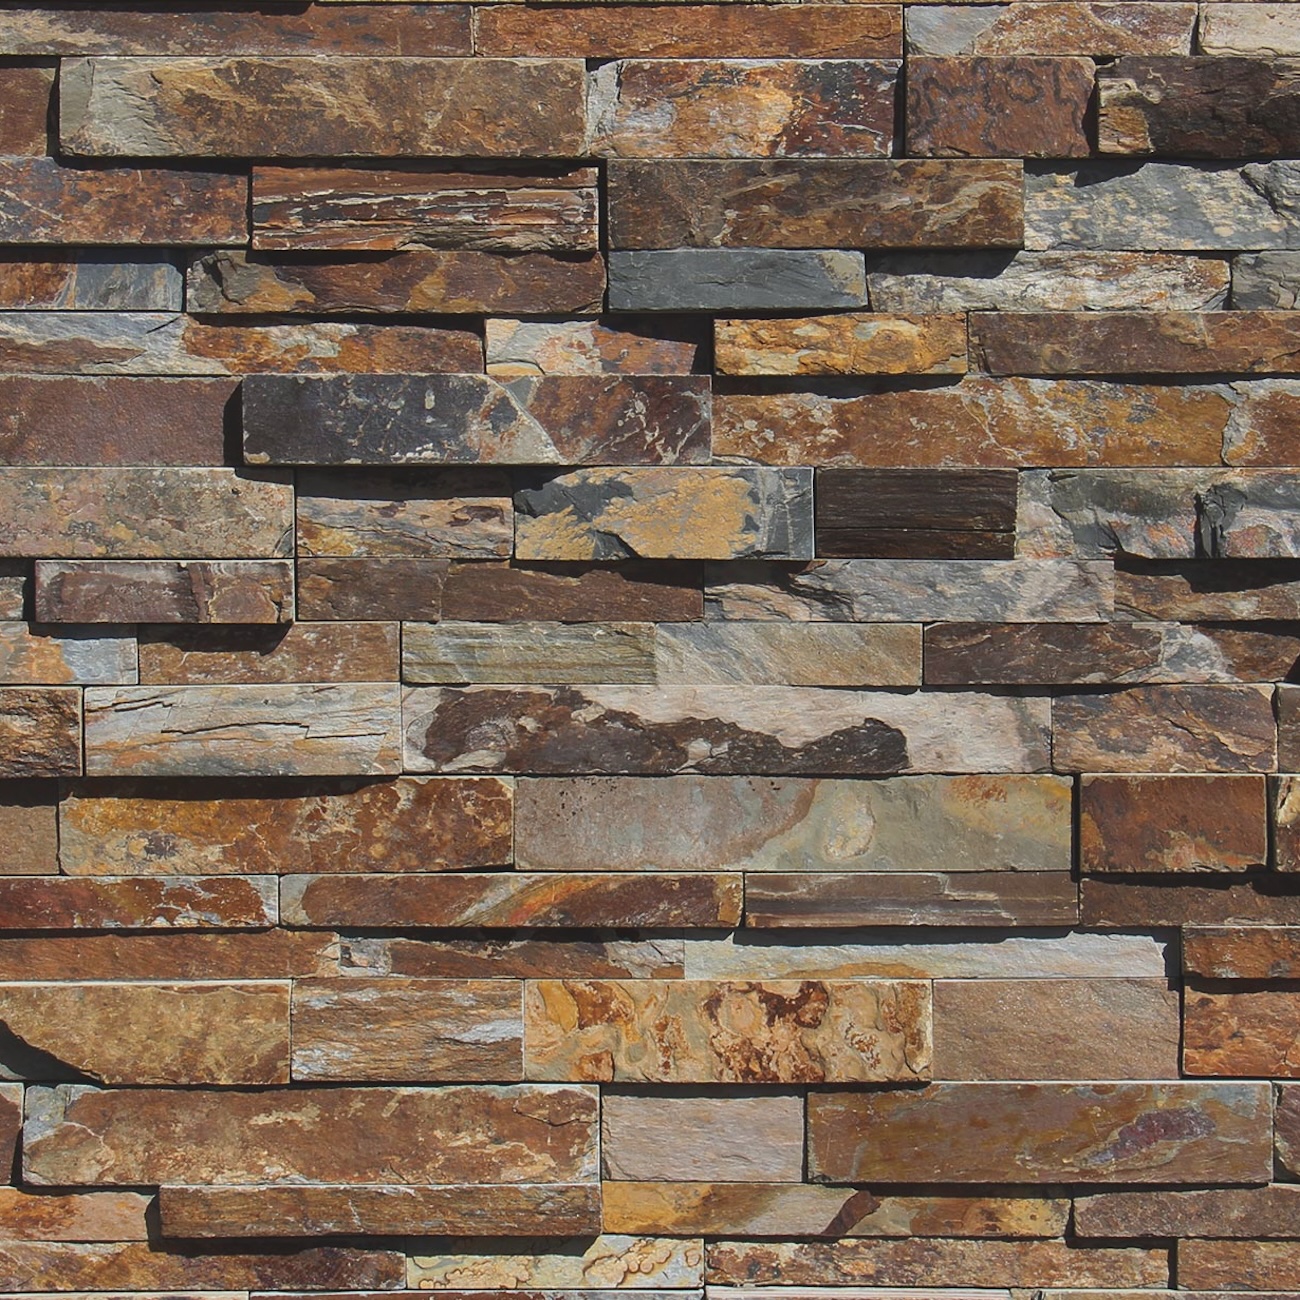
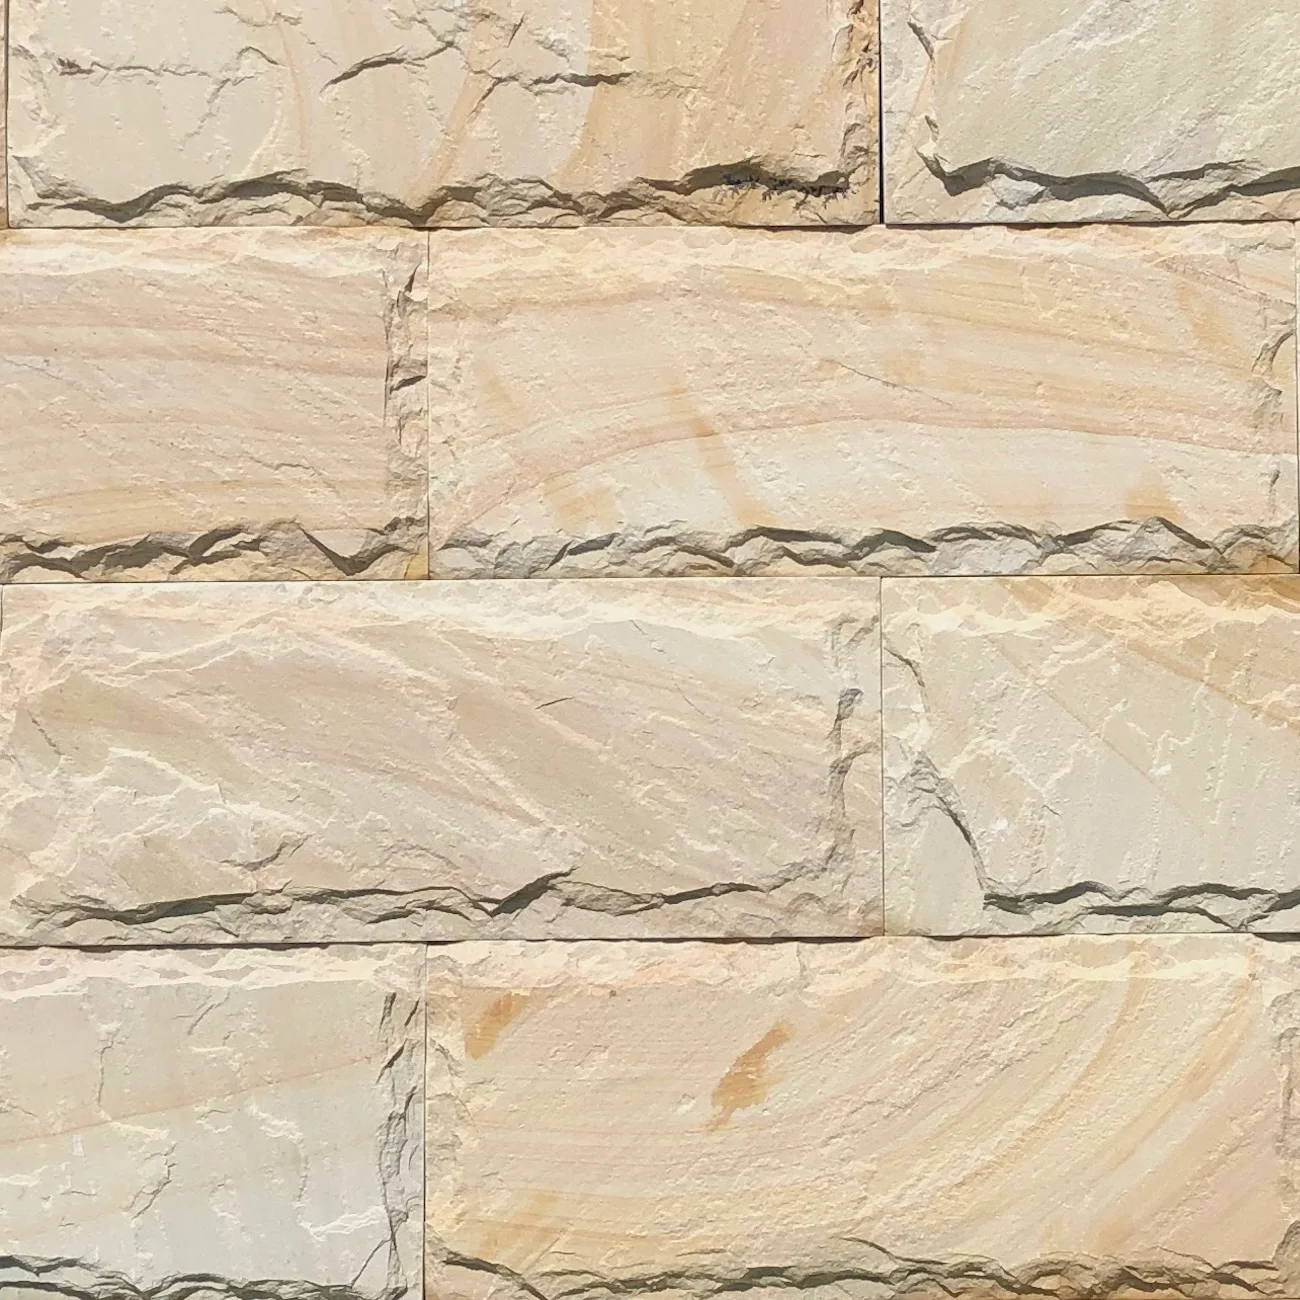
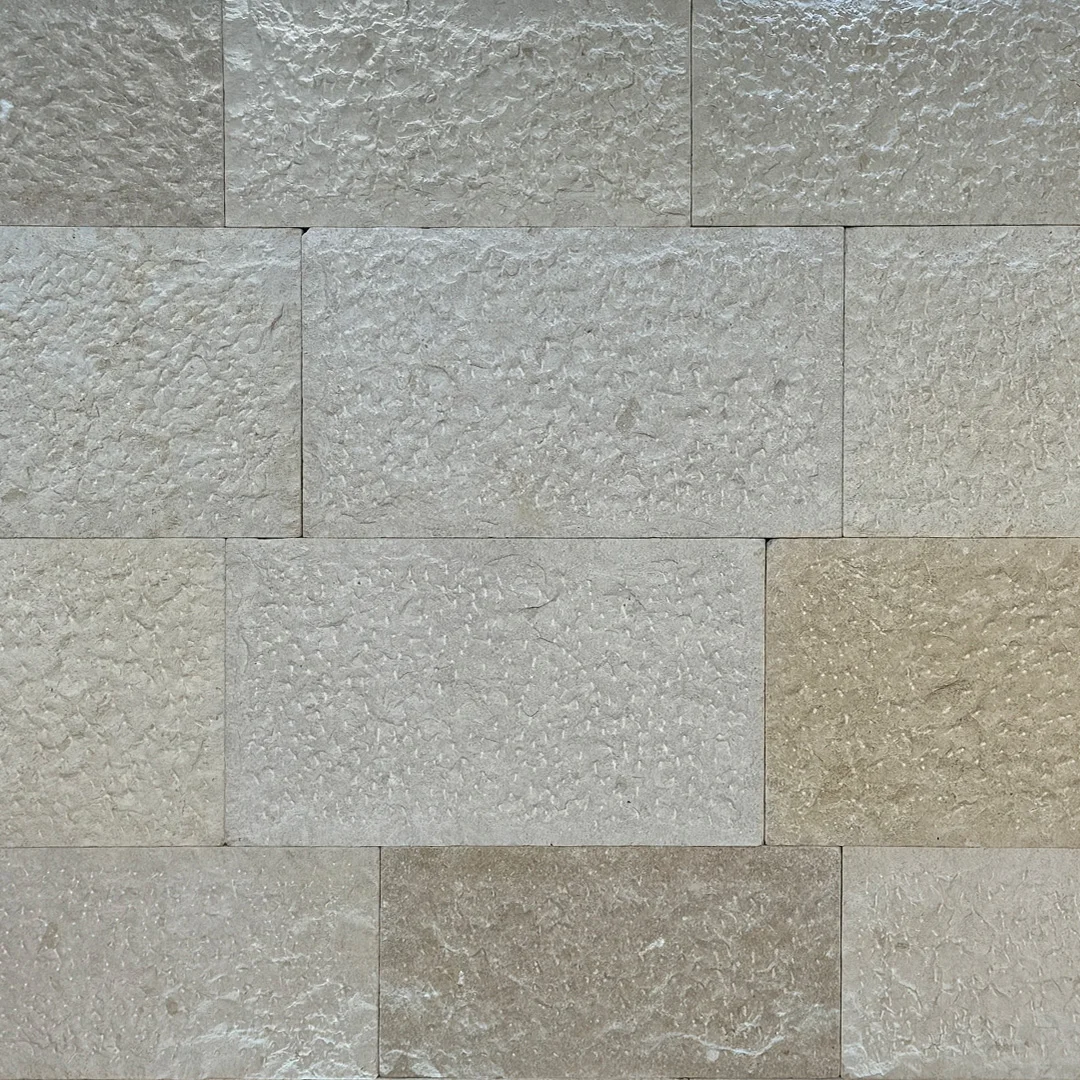
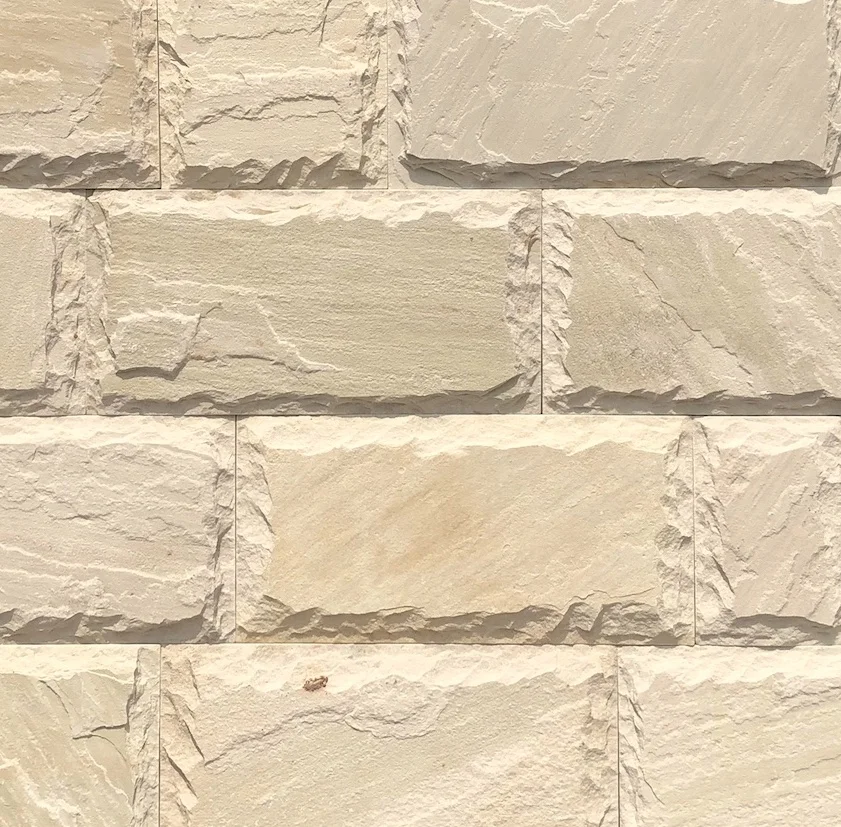
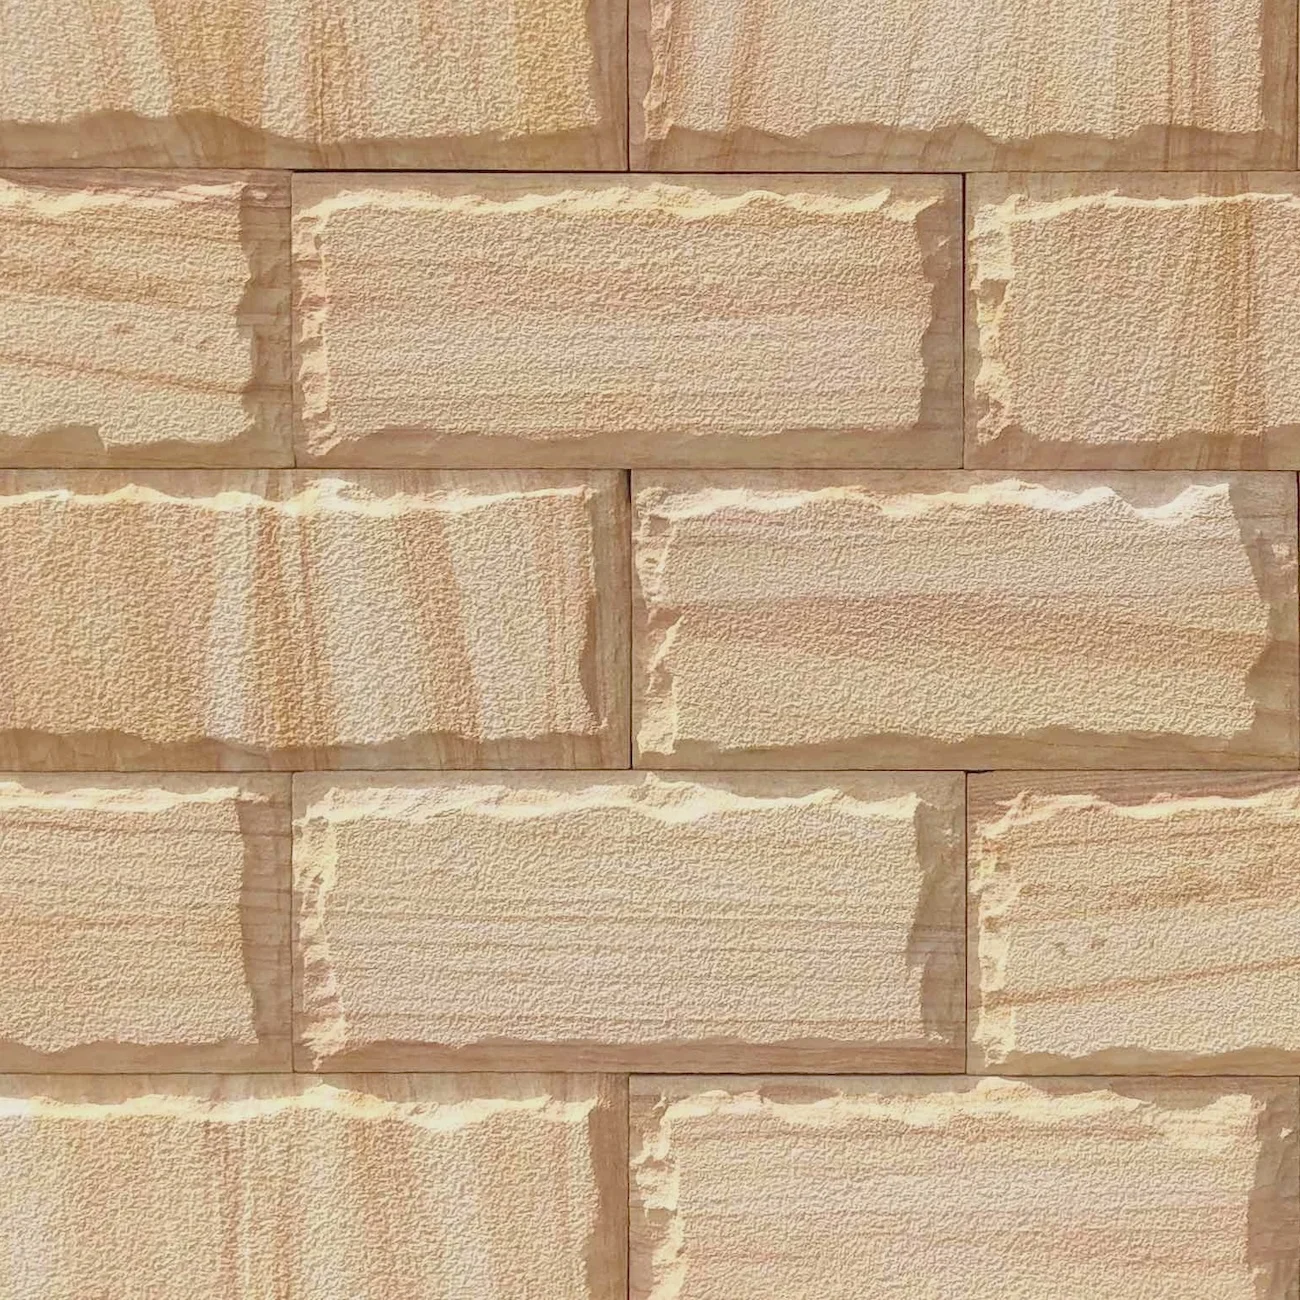
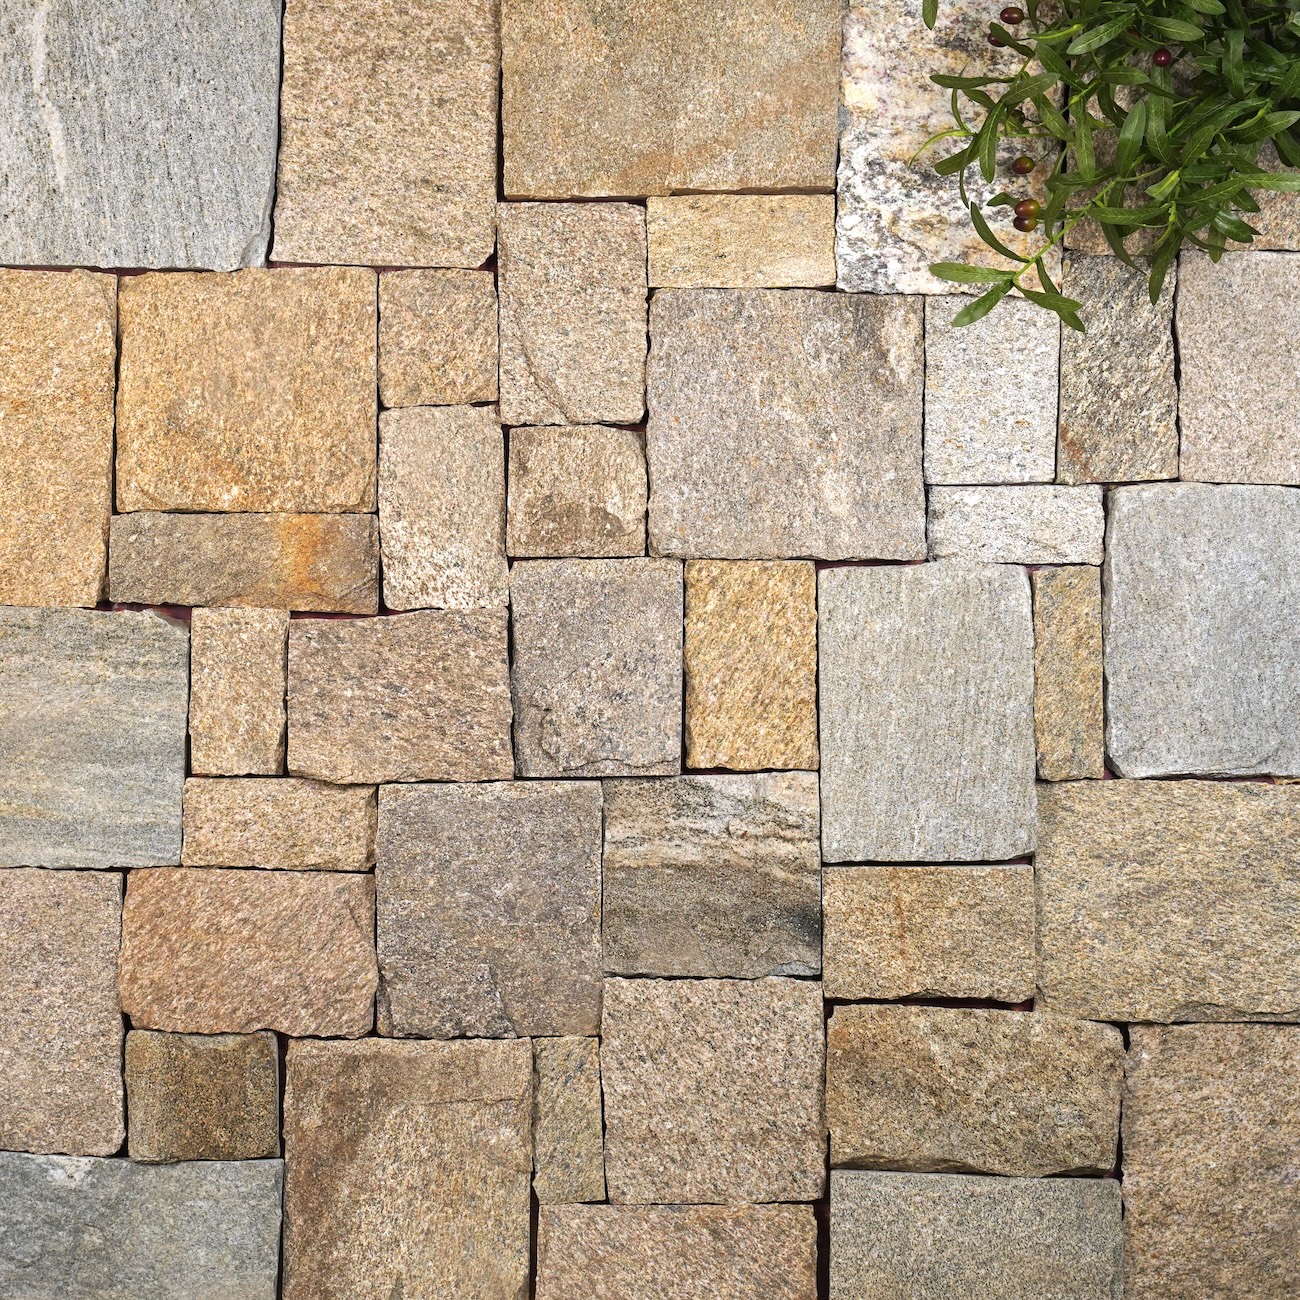
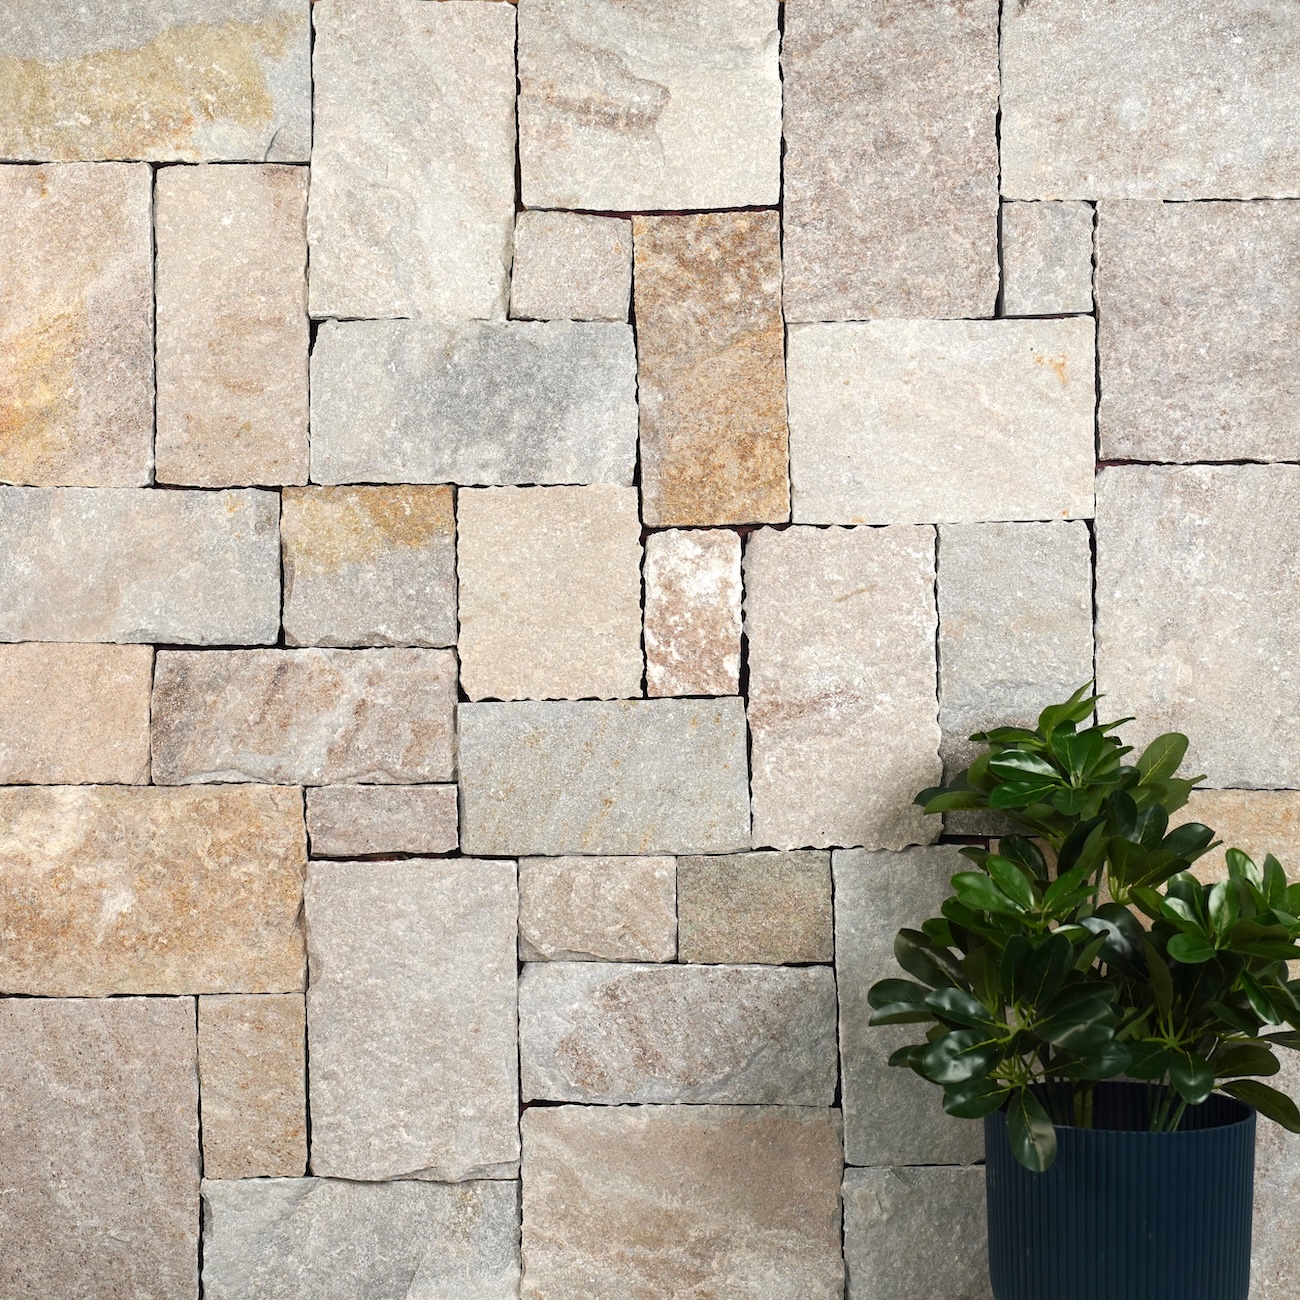
Wall cladding is the process of applying natural stones to an interior or exterior wall. Natural stone wall cladding offers durability, longevity and resilience to varying weather conditions. Stone wall cladding not only enhances the look of a space but also requires very little maintenance over time!
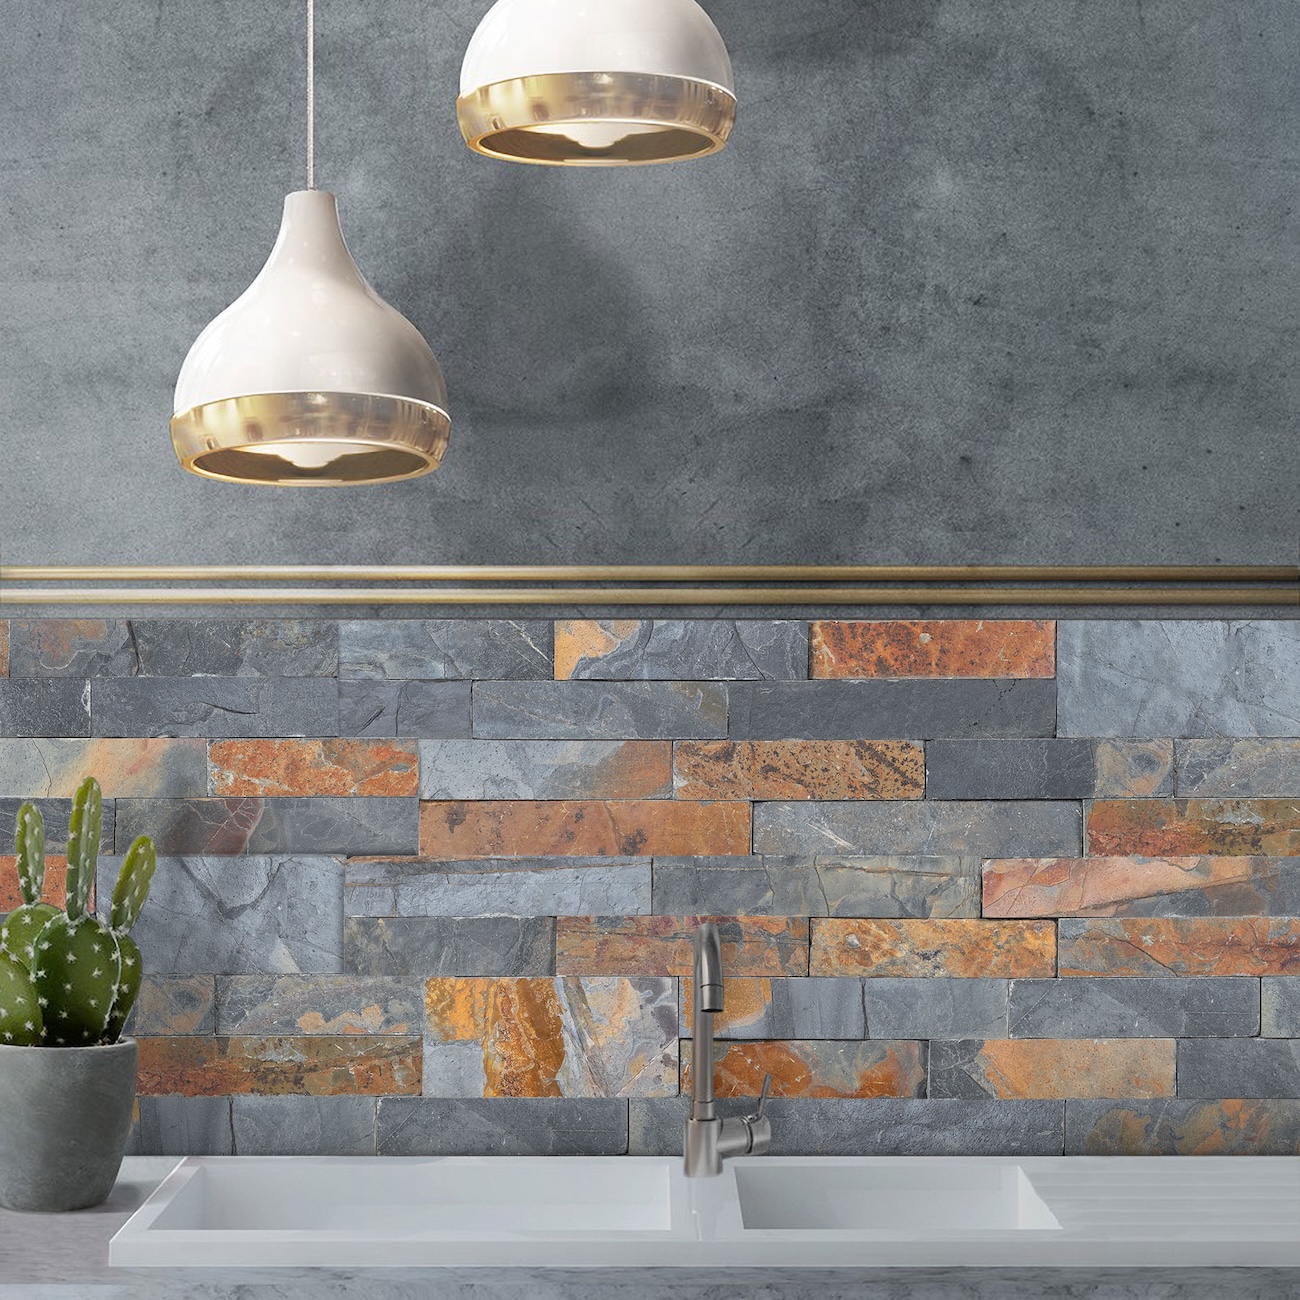
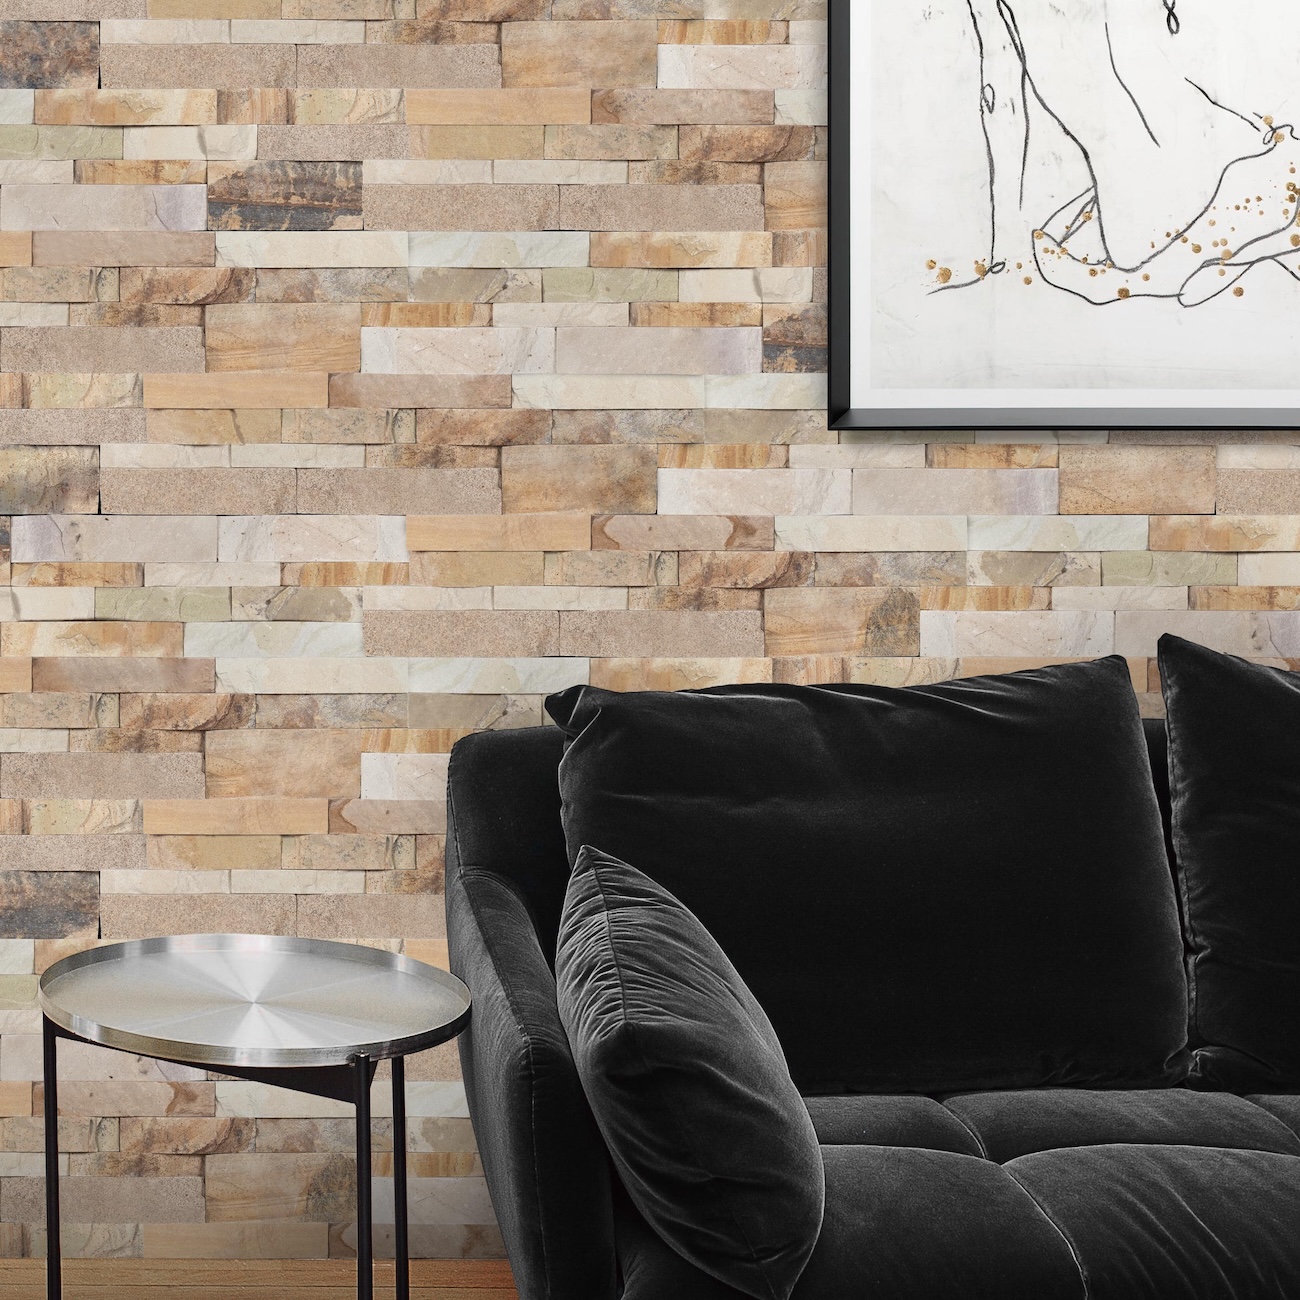
Natural stone walling has become a go-to style for designers and homeowners. Organically textured and beautiful, each wall cladding stone offers an old-world charm. Our wide selection of interior and exterior stone wall cladding includes Free Style, Stacked Stone, Dry Stone, Modular and Traditional styles in various colours and materials. These stone wall cladding options perfectly suit all designs for both residential and commercial projects. We offer wall tiles in natural split and honed finishes with a backside sawn cut.
Sustainable and hard-wearing, our natural stone wall cladding can resist all weather conditions and provide heat resistance. Natural stone walling also helps with insulation, maintaining the general temperature of your space and improving energy efficiency. Using these natural stone wall tiles, you can create innovative designs for facades, water features, feature walls, fireplaces, backsplashes and stone cladding for outside walls.


.webp)
.webp)


.webp)


.webp)
.webp)