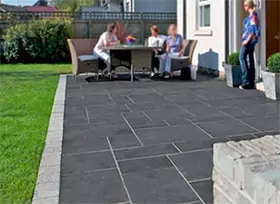
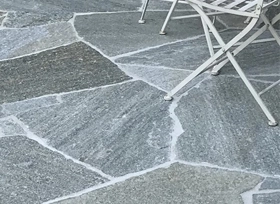
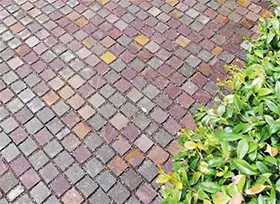
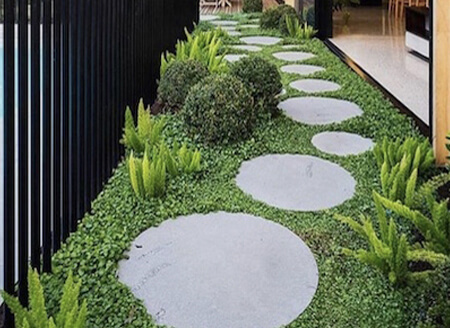
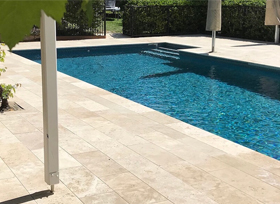
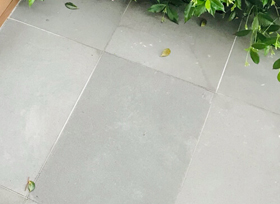
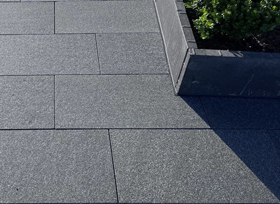
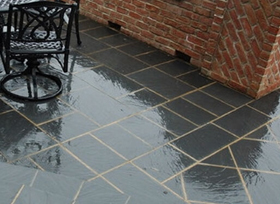
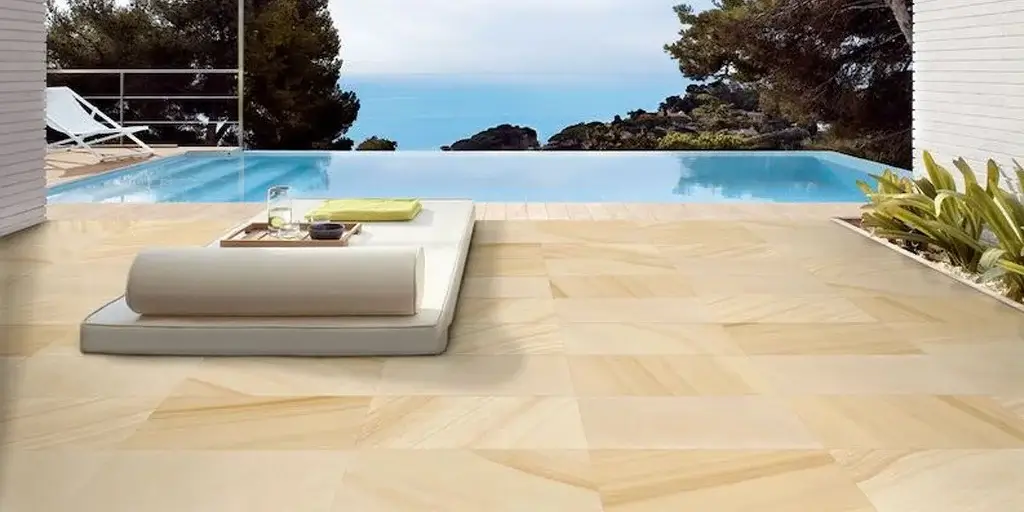
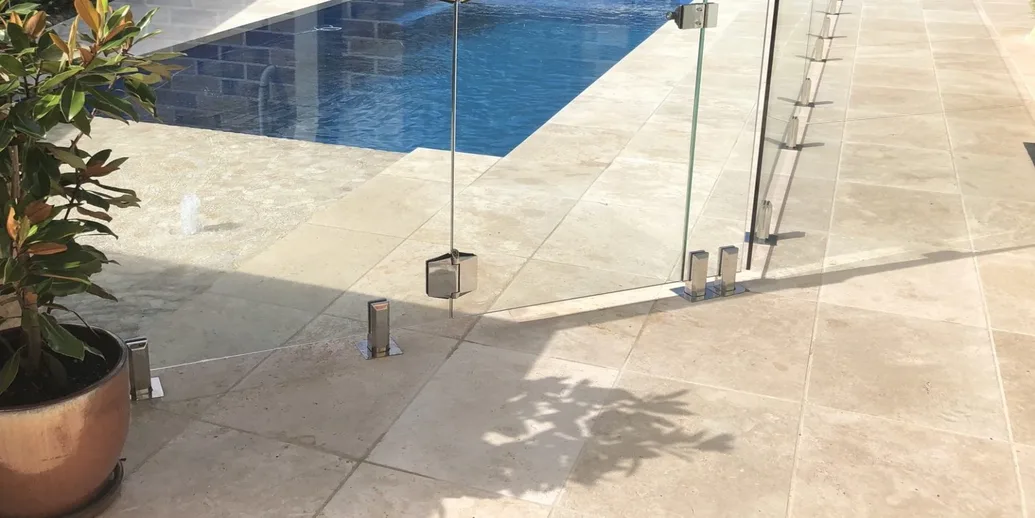
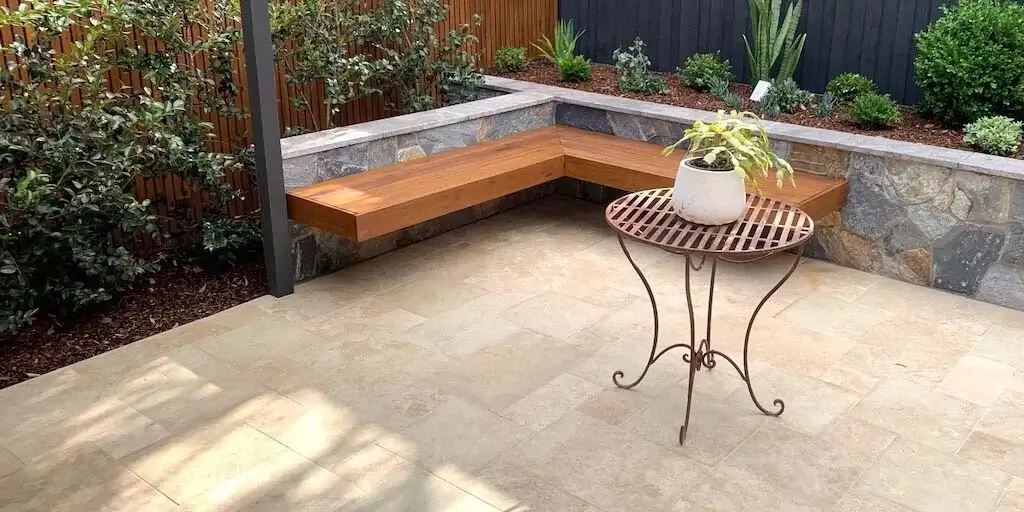
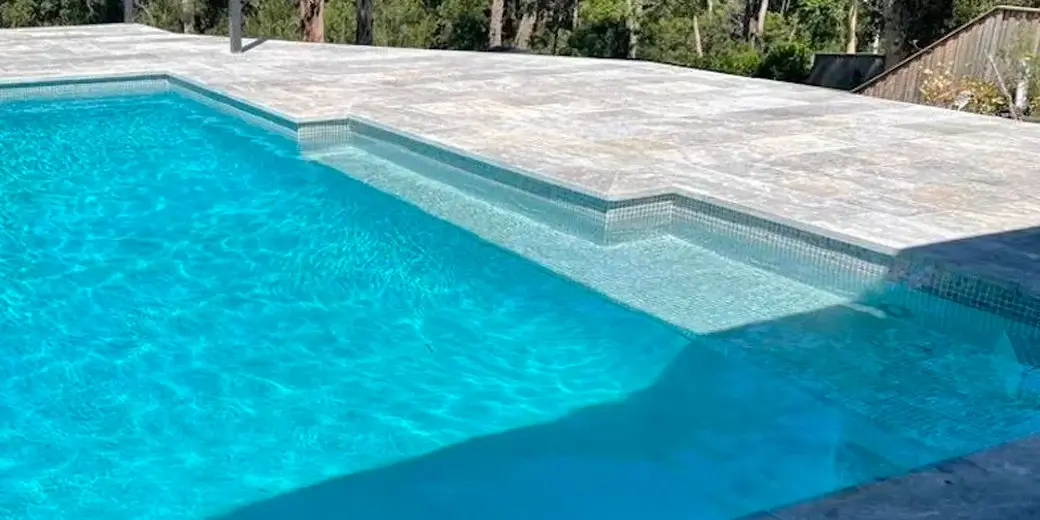
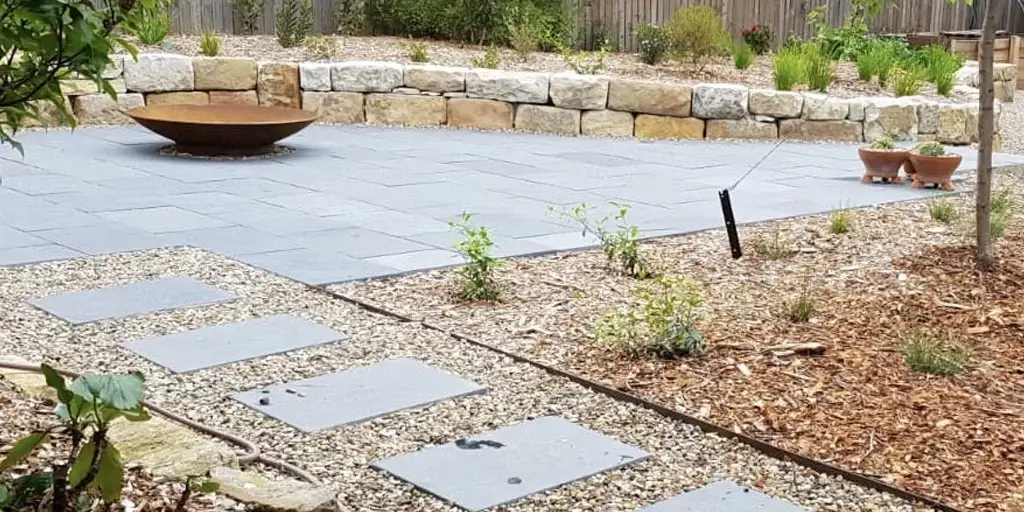
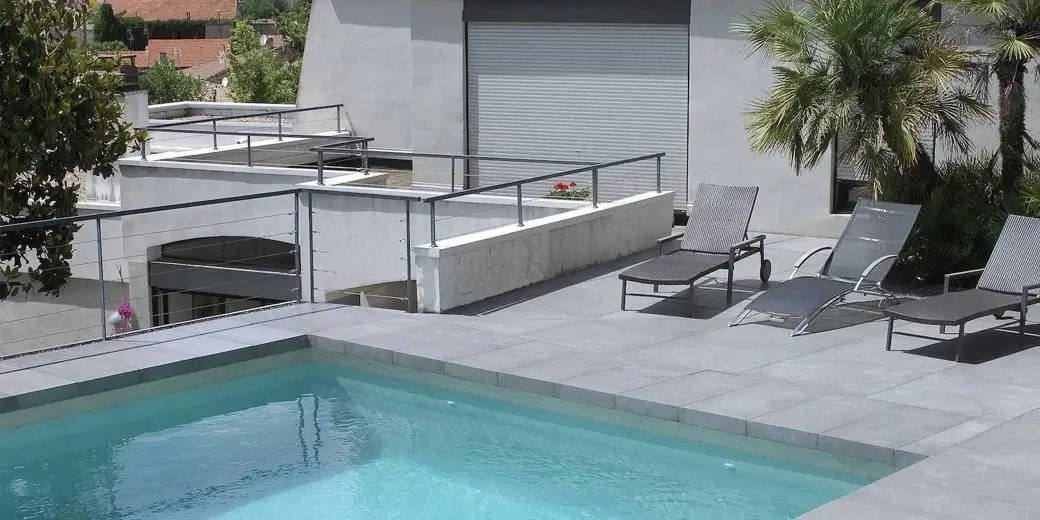
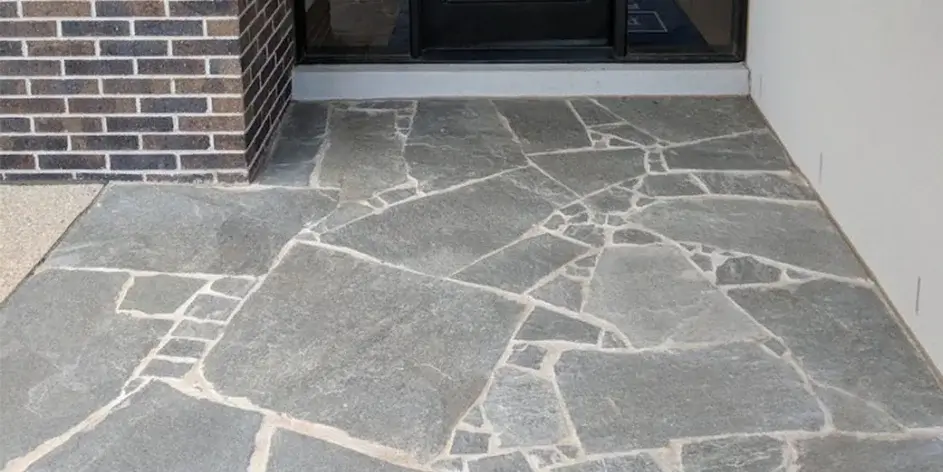
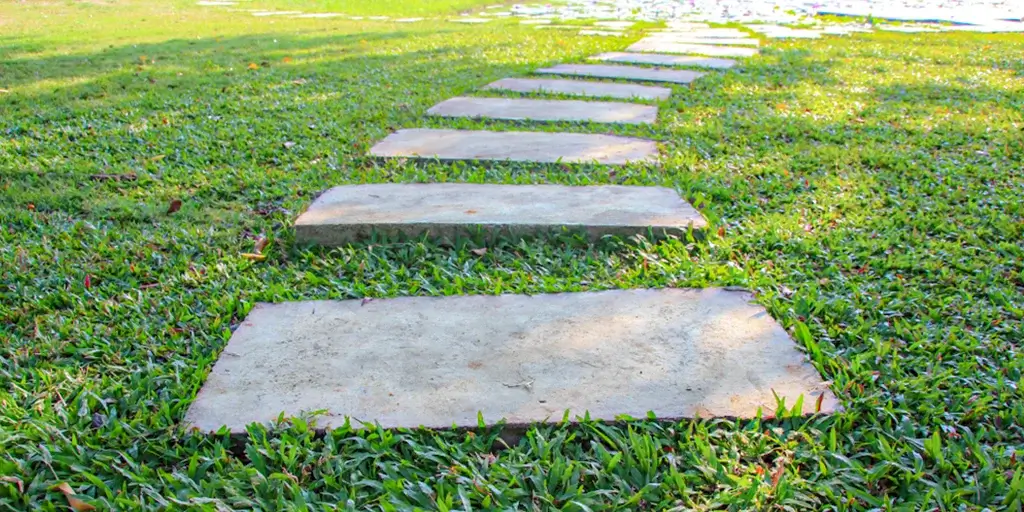
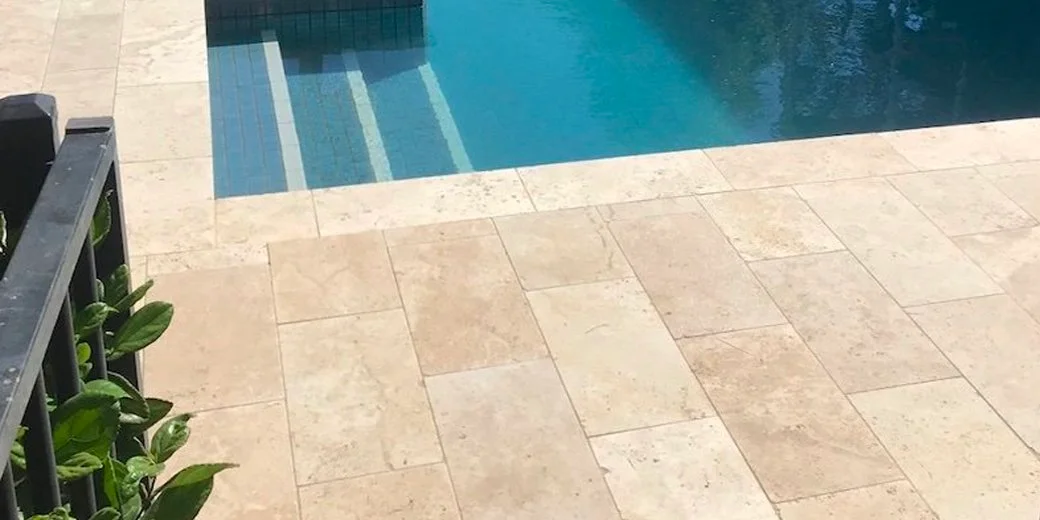
Pavers are an excellent way to create a stunning, functional and aesthetically pleasing landscape. They are used to create pool decks, pathways, patios and even driveways. They come in various shapes, colours and sizes, making them an incredibly versatile landscaping tool.
However, knowing how to lay pavers can be a tricky task. If incorrectly done, it can result in uneven surfaces, drainage issues and even safety hazards.
To create a beautiful and functional landscape pavers, here are some tips that can help you understand how to lay pavers.
Step 1 – Plan the layout
Before laying pavers, you need to plan the area’s layout. This involves measuring the area and determining the size and shape of the pavers you will use. It is a crucial step when understanding how to lay pavers, as it determines the overall look and functionality of the area. Here are some tips:
- Determine the purpose of the area
The first step in planning the layout is to determine the purpose of the area. Are you creating a patio, pathway or driveway?
Each of these areas will have different layout requirements. For example, a patio may require a larger space for outdoor furniture, while a pathway may need to be narrower and more winding.
- Measure the area
Once you know the purpose of the area, you need to measure the space. Use a measuring tape to determine the length and width of the area. It’s a good idea to add a few extra inches to the measurements to allow for the cutting and fitting of the pavers.
- Choose the paver size and pattern
Choosing the paver size and pattern is essential in planning the layout. Pavers come in various sizes and shapes, so you can choose one that suits your needs. Consider the overall look you want and select a pattern that complements the space.
- Consider the slope and drainage
When planning the layout, you also need to consider the slope and drainage of the area. Pavers are laid on a slight slope to allow for water drainage. If the site is particularly sloped, you may need to create terraces to make the site more level.
- Plan for cutting and fitting
You must also plan for cutting and fitting the pavers when designing the layout. There will likely be areas where the pavers must be cut to fit around obstacles or create a specific pattern. Planning for this is essential to ensure you have the right tools to make the cuts.
Step 2 – Prepare the site
Preparing the site is a critical step when laying pavers. Proper preparation will ensure that the pavers are level, stable and durable. This involves removing grass, plants or debris from the area and ensuring the soil is level. You may also need to excavate the space to create a base for the pavers. Here are some tips on how to prepare the site when laying pavers:
- Remove existing structures
Any existing structures in the area, such as old pavers, concrete, or grass, need to be removed before starting the paver installation. This will ensure that the new pavers have a stable base to rest on.
- Excavate the site
Excavate the site to the required depth. The excavation depth will depend on the type of pavers you are using, the base’s thickness and the surrounding area’s height. A good rule of thumb is to excavate to a depth of 6-8 inches below the finished size of the pavers.
Step 3 – Create a base
Creating a base for the pavers ensures they are level and stable. The base is made of a layer of crushed stone, which should be compacted using a plate compactor. It will create a solid base for the pavers and prevent them from sinking or shifting over time. Here are some steps to follow when creating a base for laying pavers:
- Add gravel
Once you excavate the site, add a layer of crushed gravel or rock to the area. This layer should be about 3-4 inches thick and will help to provide drainage and stability for the base. Use a plate compactor to compact the gravel layer and ensure it is level.
- Add sand
After the gravel layer, add a layer of sand on top of the gravel. The sand layer should be about 1 inch thick and help level the pavers and provide additional stability. Use a rake to spread the sand evenly across the area.
- Screed the sand
Once the sand layer is in place, use a screed to level the surface. A screed can be made from a straight piece of wood or metal and should be the same length as the width of the area. Place the screed on the sand and move it back and forth in a sawing motion to create a level surface.
- Add a paver base panel
Another option for creating a base for pavers is to use a paver base panel. These pre-fabricated panels are made from high-density polyethene and have a honeycomb structure that helps to distribute weight and provide stability. The panels are lightweight, easy to install and cut to fit any shape or size.
- Compact the base
After creating the base, use a plate compactor to compact the surface. This will help ensure that the base is level and stable and prevent the pavers from sinking or shifting over time. Compact the base in small sections, working from the center of the area outwards.
Step 4 – Lay the pavers
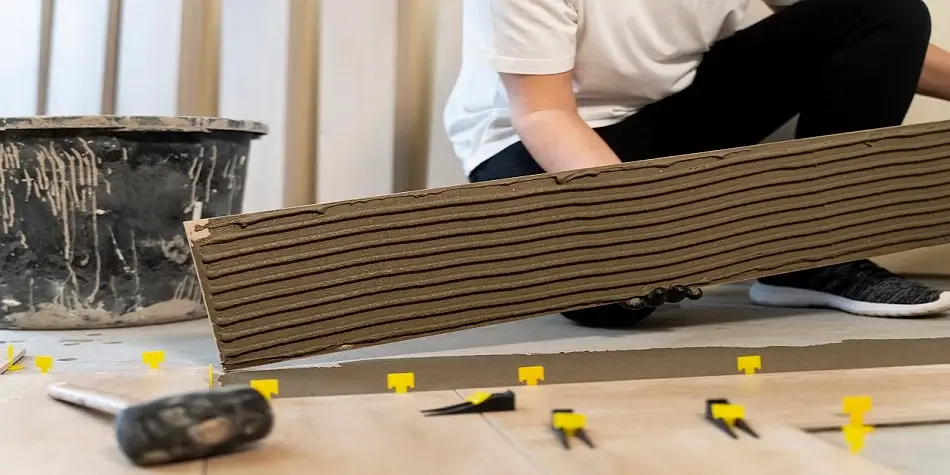
Start at one corner of the area when laying the pavers and work your way across. Place each paver onto the sand bed, ensuring it is level and flush with the adjacent pavers. You can use a rubber mallet to tap the pavers into place and ensure they are secure. Here are some additional pointers for laying the pavers:
- Use a string line or chalk line
Use a string line or chalk line to ensure that your pavers are laid in a straight line. Tie a string to two stakes and stretch it across the area where you will lay the pavers. Use a level to ensure the string is level and then use the string as a guide to keep your pavers straight.
- Cut pavers as needed
If you need to fit pavers around curves or edges, you may need to cut them to sizes. Use a wet saw or a chisel and hammer to make precise cuts. Be sure to wear eye and ear protection when using power tools.
- Check for level and slope
As you lay each paver, use a level to ensure it is level and flush with the adjacent pavers. Also, check the slope of the pavers to ensure that water will drain away from the area. A slope of about 1/8 inch per foot is recommended.
- Add joint sand
After all the pavers have been laid, add joint sand to the gaps between the pavers. Use a broom to sweep the sand into the gaps, filling them. Then, use a plate compactor to compact the sand and ensure it is evenly distributed.
Step 5 – Secure the pavers
Once all the pavers are in place, you should sweep sand over the surface of the pavers and use a plate compactor to set them in place. This will ensure the pavers are secure and will not shift over time. Here are some steps to follow to secure the pavers:
- Use the right adhesive
Various types of adhesives are available, including construction adhesive, polyurethane adhesive and concrete adhesive. Make sure to select a bond that is suitable for your paver material and the surface you’ll be laying them on.
- Apply the adhesive
Apply the adhesive to the surface where you’ll be placing the pavers. Spread the adhesive evenly with a notched trowel, creating a thin layer.
- Place the pavers
Carefully place each paver onto the adhesive, ensuring they are level and evenly spaced.
- Tap the pavers
Use a rubber mallet to gently tap each paver into place, ensuring they are firmly secured to the adhesive.
Step 6 – Seal the pavers
Seal the pavers to protect them from staining and weather damage after installation. You can use a paver sealant to add a protective layer to the surface of the pavers and keep them looking new for years. Here are the steps to follow when sealing pavers:
- Clean the surface
Before sealing the pavers, ensure the surface is clean and free of debris, dirt and other substances. Use a pressure washer or hose to clean the pavers thoroughly.
- Allow the pavers to dry
After cleaning the pavers, allow them to dry completely. The pavers must be completely dry before sealing them.
- Choose the right sealer
Different types of sealers are available for pavers, so make sure you choose the right one for your specific needs. For example, choose a penetrating sealer if you want a natural finish.
- Apply the sealer
Use a sprayer or a roller to apply the sealer evenly across the surface of the pavers. Apply the sealer in thin coats and cover the entire surface.
- Allow the sealer to dry
Once you’ve applied the sealer, allow it to dry completely before walking or driving on the pavers. The drying time will depend on the type of sealer you’ve used.
- Apply a second coat
Depending on the type of sealer you’ve used, you may need to apply a second coat. Follow the manufacturer’s instructions for the recommended number of coats.
How to maintain the pavers?
After sealing the pavers, it’s essential to maintain them properly. Sweep the surface regularly to remove dirt and debris and clean up spills and stains as soon as possible to prevent them from seeping into the pavers. Proper maintenance is vital to keeping your pavers looking great and in good condition for years. Here are some tips for maintaining your pavers:
- Sweep regularly: Use a broom or leaf blower to remove dirt, debris and leaves from the surface of the pavers. This will help prevent them from getting ground into the surface and staining or damaging the pavers.
- Clean up spills promptly: If you spill something on the pavers, clean it up as soon as possible to prevent stains from setting in. Use mild detergent and water to clean the area.
- Use a pressure washer: Once or twice a year, use a pressure washer to clean the pavers thoroughly. This will help remove any dirt or stains accumulated on the surface.
- Repair damaged pavers: If you notice any cracks or damaged pavers, replace them as soon as possible to prevent further damage and maintain the overall appearance of the surface.
- Apply sealer: Use a sealant every 2-3 years to protect the surface from weather damage, stains and other forms of wear and tear.
Explore premium pavers at Stone Depot
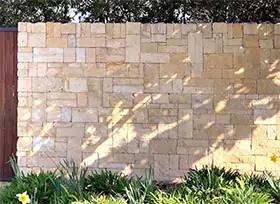
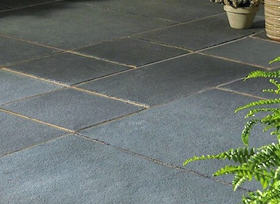
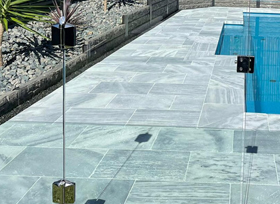
In conclusion, laying pavers can be a great way to create a beautiful and functional landscape. By following these tips, you can ensure that your pavers are installed correctly and will last many years. Whether you’re creating a patio, pathway, or driveway, pavers are an excellent choice for enhancing the beauty and functionality of your outdoor space. We at Stone Depot offer a wide range of pavers and tiles such as Travertine, Limestone, Bluestone, Sandstone and Slatestone. You can connect with us for competitive pricing and expert advice!
Here are a few more blogs that will help you to learn more about how to lay natural stones:
*Disclaimer: All information and advice given above in the blog are to the best of our knowledge. Please reconfirm at your end before execution.


