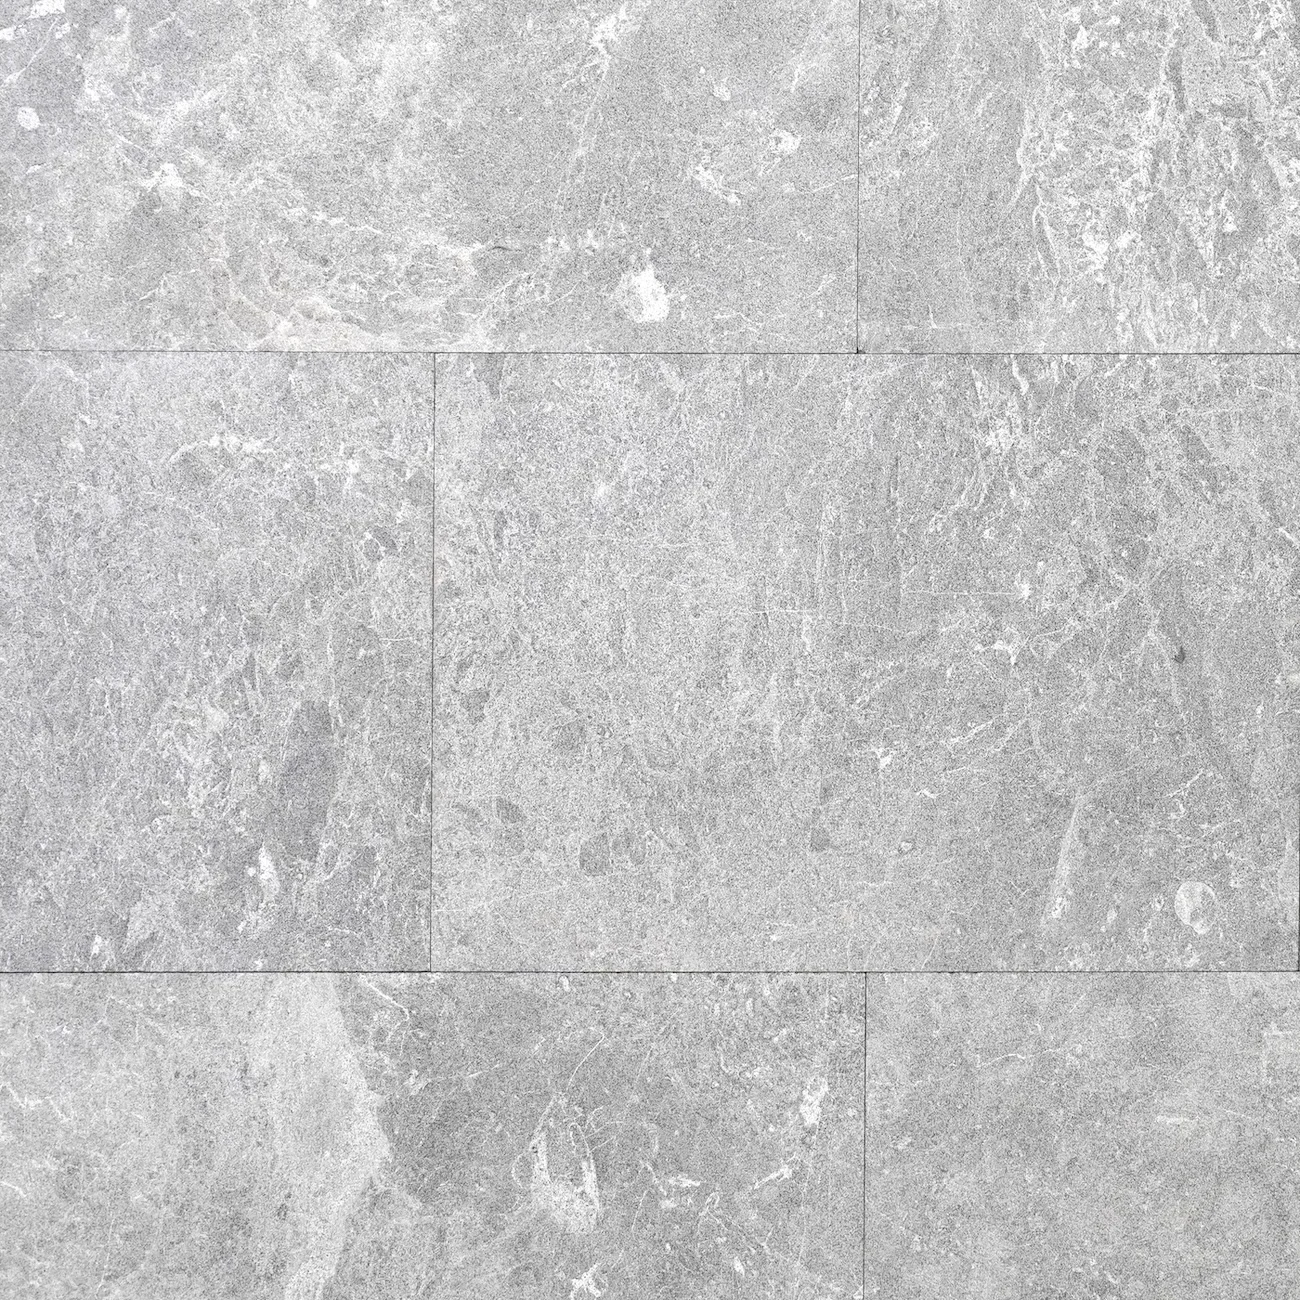
Marble floor tiles are formed by mining natural marble rock which is a metamorphic stone created from compressed, recrystallized limestone. It is then cut into thin slabs, polished and sawn into standard sizes.
Marble Tiles for Interiors
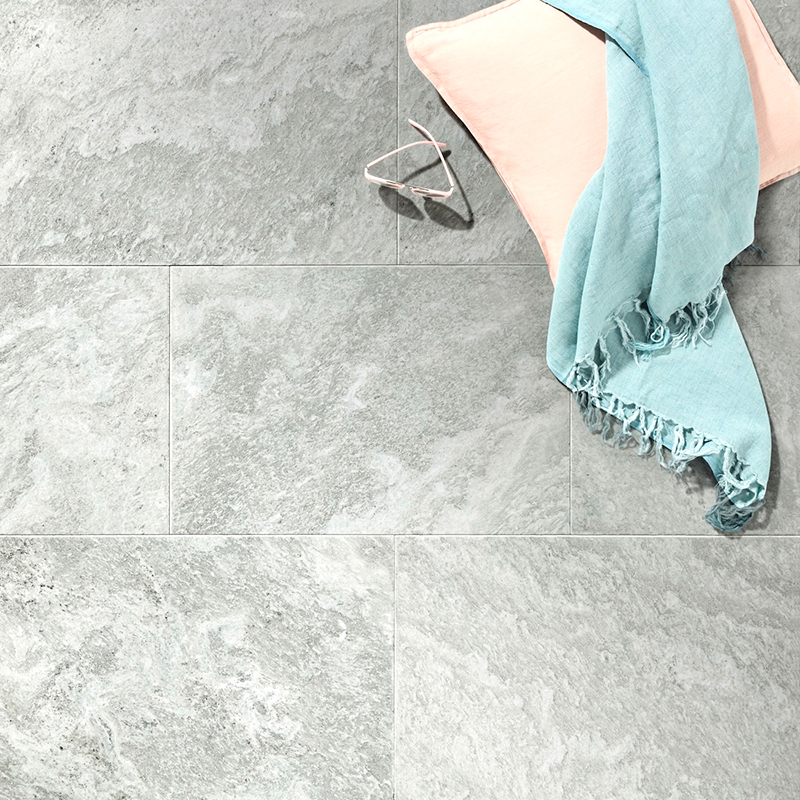
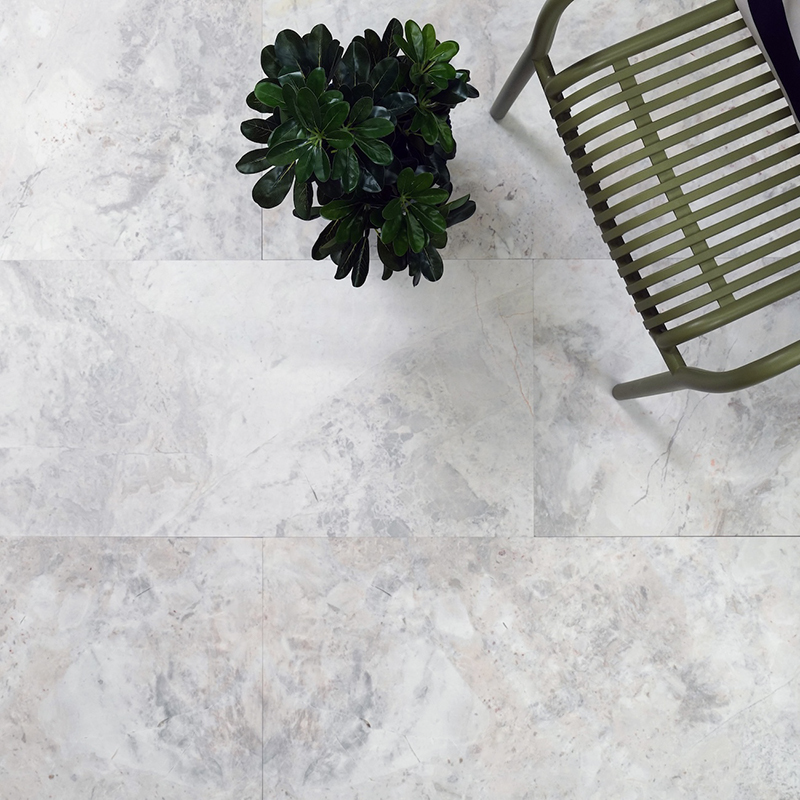
Marble floor tiles in a honed finish bring a refined, matte elegance that works across both classic and contemporary interiors.
For those specifically looking for white marble tiles, our collection offers a clean, bright base that works well to maximise a sense of openness and light.
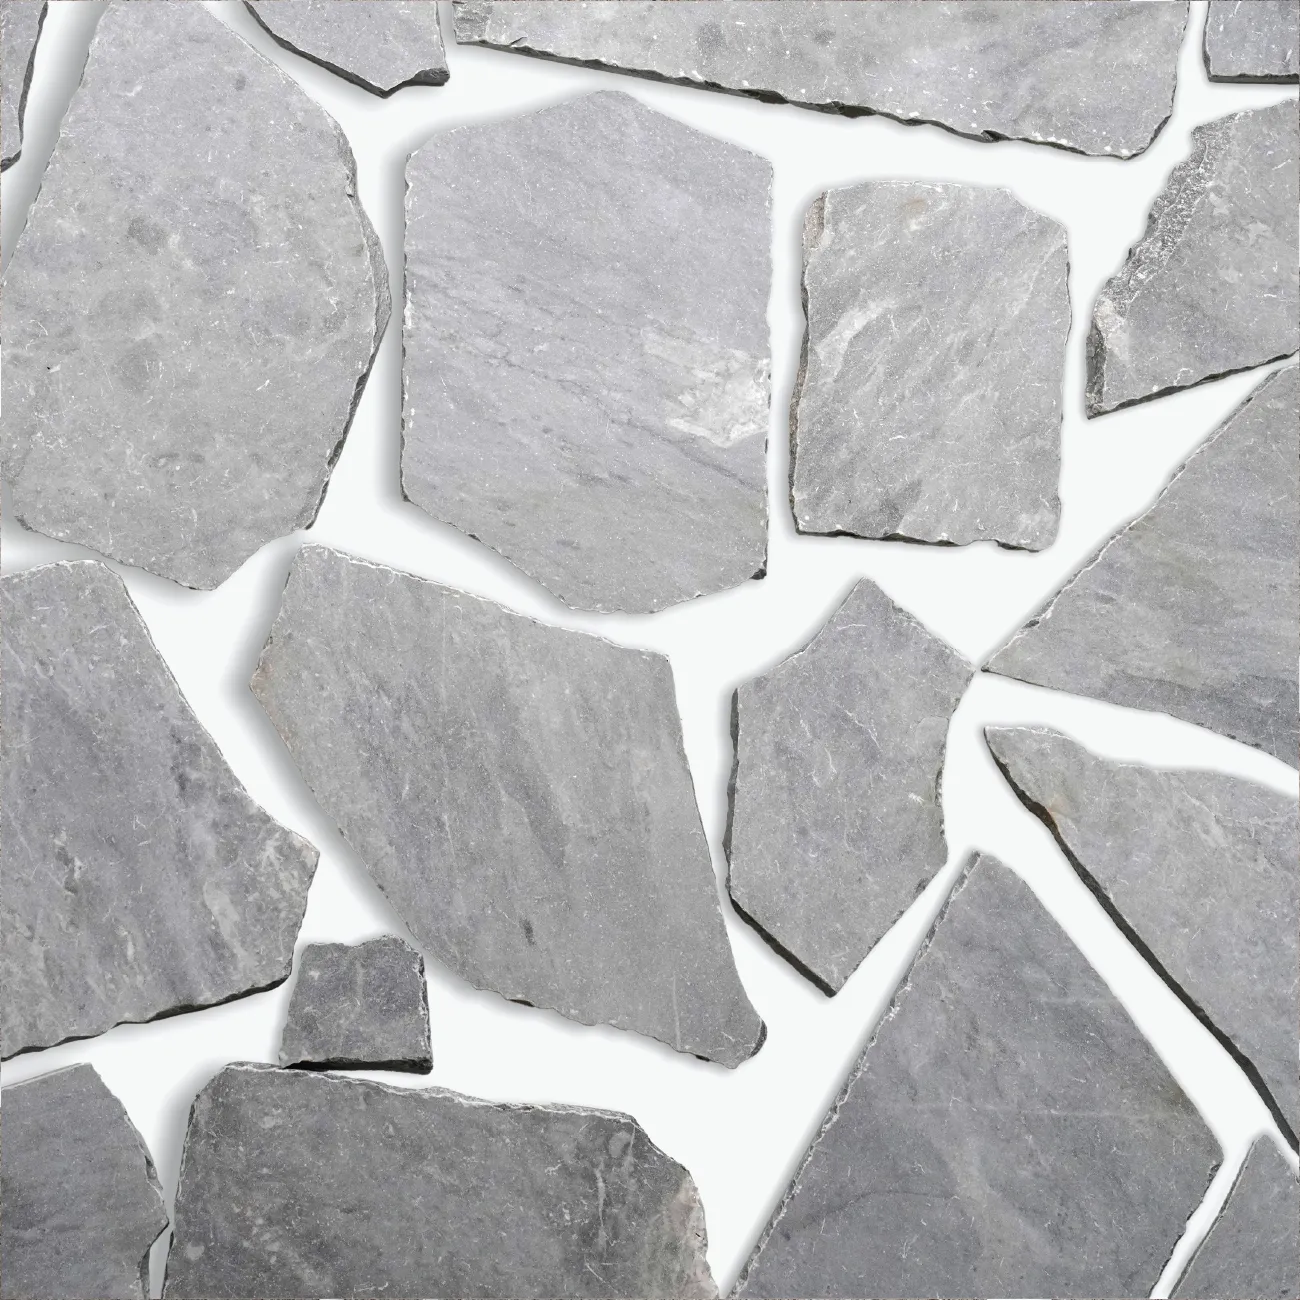
Marble for Outdoor Applications
Marble pavers are cut thicker to handle the structural demands of outdoor surfaces. Outdoor marble tiles are better suited to areas with a solid concrete substrate, like covered alfresco spaces.
For full outdoor paving - patios, pool surrounds, walkways, the honed or anti-slip finish options in our range are the right choice, giving you the visual appeal of marble with the grip needed underfoot. Marble paving in lighter tones also reflects heat better which is a practical advantage during Australian summers.
They are also suitable for driveways and medium-traffic outdoor areas when properly bedded and sealed.
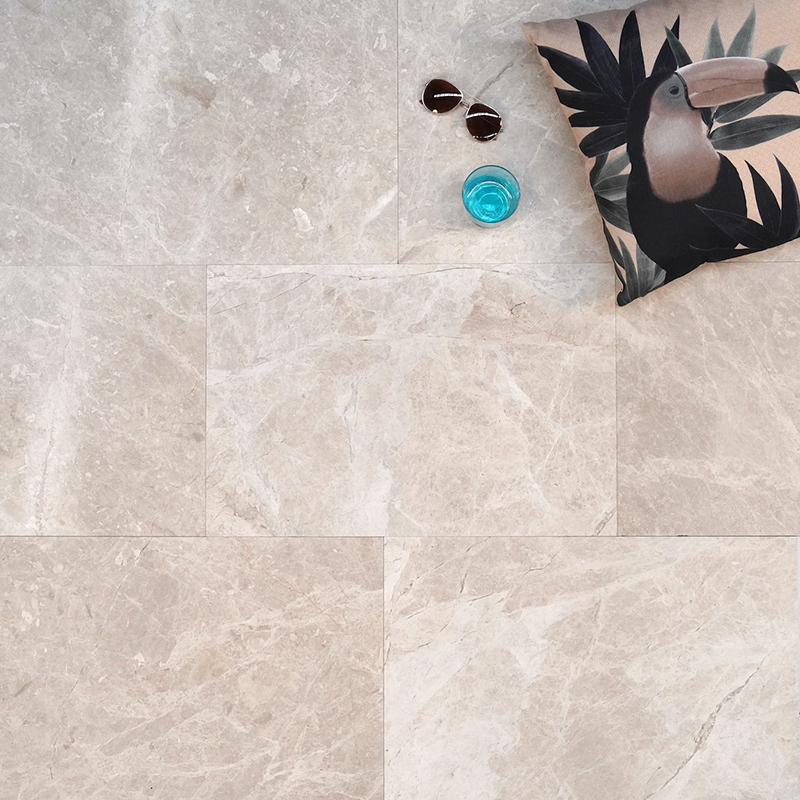
Marble Around the Pool
Marble can be considered as a choice for poolside use. Marble pool pavers and marble pool tiles can work well in the right conditions, specifically, when a honed or anti-slip finish is used, and when the stone is properly sealed before installation.
The lighter tones in our marble range stay cooler underfoot near pools than darker materials, which is a practical advantage on a hot summer day. Matching coping to the surrounding paver creates a seamless, resort-style finish that's become increasingly popular in contemporary Australian home design. If you're planning a pool project, reach out to our team. We can help you identify the right marble variety and finish.
We are one of the largest stockiest of marble tiles and pavers in Sydney, Melbourne or Brisbane in our warehouses and supply across Australia.


.webp)