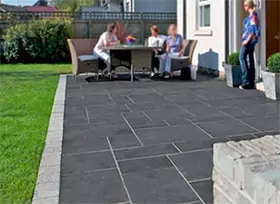
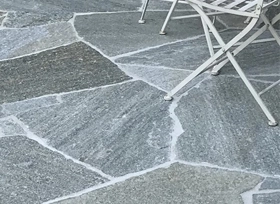
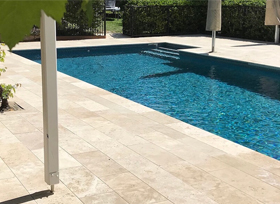
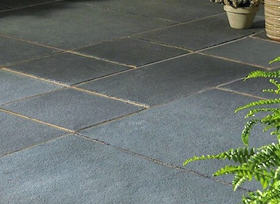
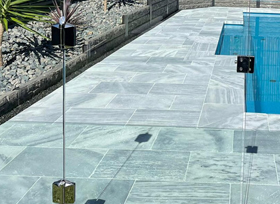
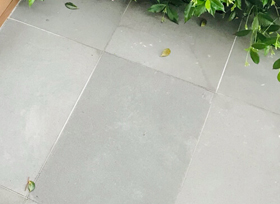
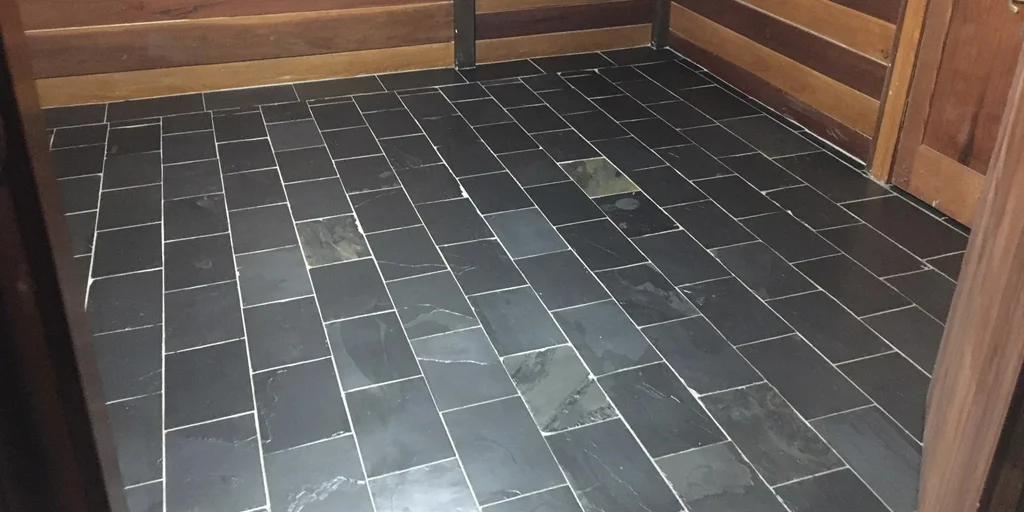
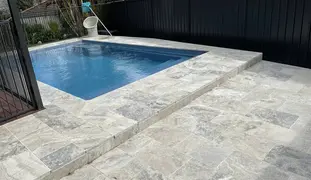
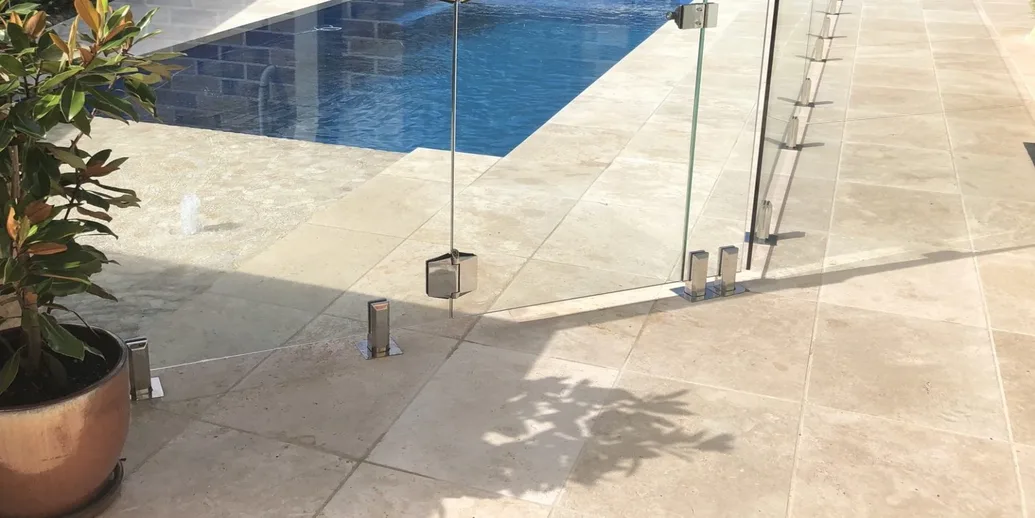
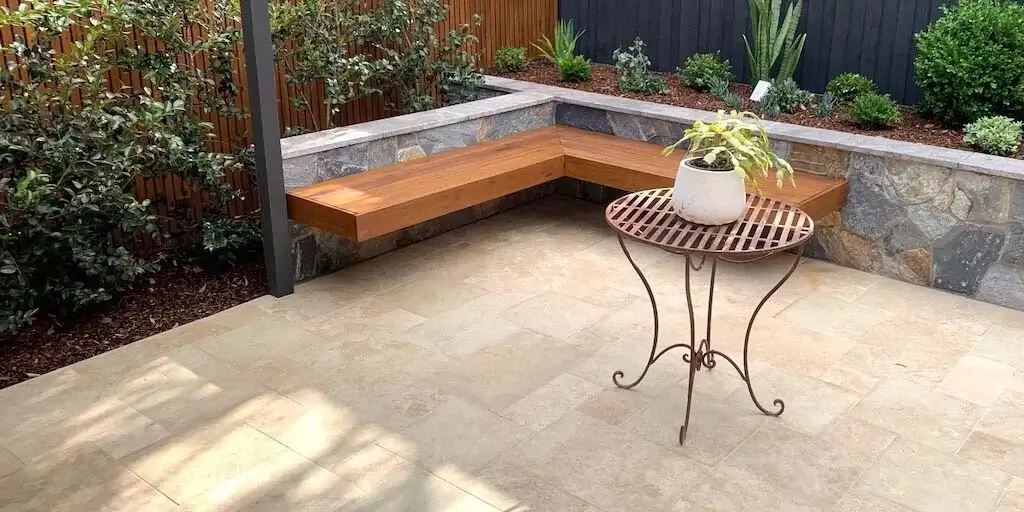
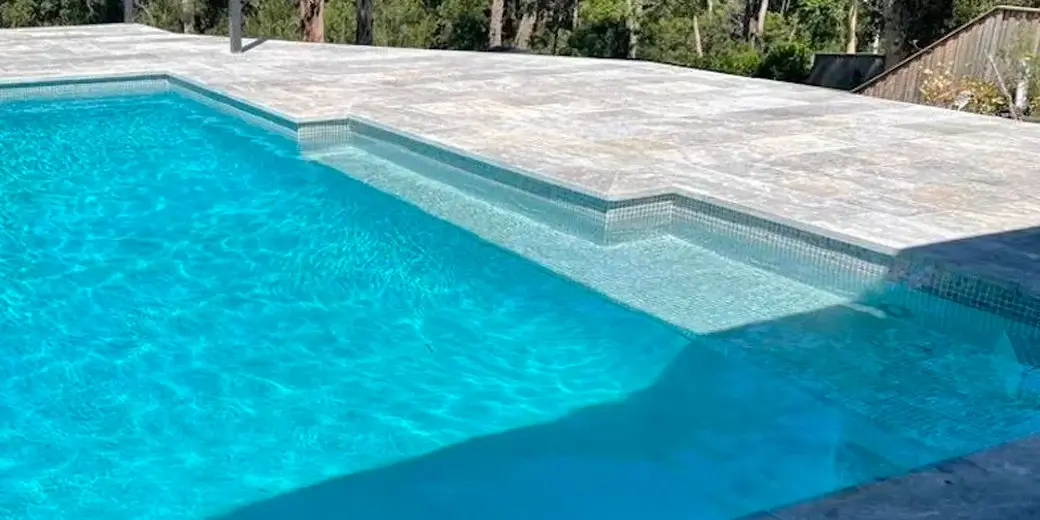
Having a corner in your house that feels natural, serene and beautiful is a must in every home. To enjoy the feel of being close to nature, homeowners often install Slate floor tiles.
These tiles are made of natural stones which are much stronger than ceramic tiles. Slate floors last longer than other natural stones because of their density, formation process and strength.
However, there may come a time when you need or want to remove them from revamping the pov or new look. Though they are installed like any other natural stone flooring, removing slate floor tiles may require slightly more effort. It is a labour-intensive job that needs the right kind of tools and techniques.
To guide you, we will share information about the right tools and walk you trough the entire process in simple easy steps.
But first thing first,
What You’ll Need?
Every step must be taken to prevent any damage to the floor below the tiles and to extract slate without cracking them. Most Slate or Marble tiles are laid on the screed (the Screed is a mix of cement and sand). It is used to create a level bed to lay slate tiles on. The bed's thickness varies between 20 and 100mm. However, not all slate floors are laid on the screed. Some are directly stuck to the timber sub-floor without any screed. The removal process may damage the timber subfloor. Therefore, take precautions when you remove slate floor tiles and gather the right tools and safety equipment as mentioned below:
Tools
- Hammer
- Pry bar or chisel
- Utility knife
- Scraper or putty knife
- Floor scrapers
Safety Equipment
- Safety goggles
- Gloves
- Dust mask
- Knee pads
Step-by-Step Guide to Removing Slate Floor Tiles
Step 1: Prepare the Area
Preparing the area is the first step. Clear out any furniture, remove everything off the floor and cover vents and entrances with plastic sheets. Since slate tile removal can be messy, it's important to keep your surroundings clean.
Step 2: Start at the Edge
You should first remove the tile which is loss or damaged near the edge of the tile area. You can use a utility knife to cut the grout lines or weaken the seal.
Step 3: Break the Tile
Once you start on the removal of tiles, use the hammer to gently tap the centre of the tile. This will crack the tile, however, make sure not to hit too hard as it can damage the sub-floor as well. If you don't want to reuse the tiles, breaking them is a time-saving option. If you want to reuse them, make sure to not use a hammer and perform every step patiently with care.
Step 4: Use a Chisel
Place the edge of your chisel into the crack or edge you created. Move it carefully and gently under the tile. As soon as you have any force, lift the tile. You might need to slide the chisel around the edges to raise it evenly.
Step 5: Remove the Adhesive
After removing every tile, make sure to remove the mortar or adhesive from the subfloor. You can use a floor scraper to gently scrape the adhesive. Try to remove as much as you can to create a smooth surface for your new flooring.
Step 6: Clean Up as You Go
There will be lots of dust and debris. We suggest you clean up to keep your work area at least safe and clear. You can simply use a broom to sweep the tiles, grout and adhesive after each tile.
Step 7: Repeat the Process
Continue this process with each tile until all the slate tiles are removed from the floor.
Generic Tips and The Best Ways to Remove Slate Flooring
- Grab a cold chisel and a three-pound sledgehammer. You can start from anywhere, but it is recommended to begin from the edge or the center point of the floor. Place the cold chisel on the grout line and hit with the sledgehammer. This will chip the grout around the tiles.
- Be careful not to crack the adjoining tile. If the grout line doesn't pop loose, then insert a thin flexible putty knife under the tile and try pulling it loose.
- Next, hit the hammer on the center of tiles to break them. Keep chipping away at the slate tiles until they start breaking off in chunks. The thin-set concrete will start to separate from the floor.
- Use a broom to sweep the floor and empty the debris in a garbage bag. Sweeping will help you identify the difficult areas and prevent small pieces from getting stuck to the floor.
- Remove the smaller chunks by hand for smaller areas. This will create space for you to work on bigger areas and clean up the floor quickly. For bigger areas with bigger tiles, fit the blade of the electric tile stripper against the subfloor, adjacent to the slate tile. Push the machine across the floor and remove a small number of tiles at one time. This will avoid the build-up of tiles in front of the stripper and any damage to the machine.
- Now remove the loosened tiles by hand and keep using the stripper to remove more tiles until you finish with the entire floor.
Since slate tiles are heavy and removing the floor tiles isn't that easy, it becomes time-consuming and a little expensive at the same time. Make sure you are equipped with safety glasses and gloves. Broken slate edges are sharp and can hurt you as much as glass. Working with a chisel and hammer is not a gentle job. Collateral damage is likely to happen. Hence remove cabinets or fragile fixtures from the floor area.
Final Note!
Removing Slate floor tiles is not an easy task but by using the right tools and equipment, little patience and approach you can do it. Whether you are renovating, repairing or simply switching your floors for a new look, following the step-by-step guidance will be great. Get ready for what comes next!
FAQs
- Can I reuse slate tiles after removing them?
- How long does it take to remove slate tiles from a room?
- What if I damage the floor underneath?
- Is it necessary to remove all adhesives before installing new flooring?
- Will removing slate tiles create a lot of dust?
Yes, it is possible to reuse slate tiles, but it is usually difficult to remove them without breaking them. If you want to reuse them, make sure to avoid cracking and be careful.
It depends on the area where the slate tiles were installed.
You can use the levelling compound or patching material to repair the floor, in case it gets damaged. However, we suggest you be as gentle as possible or hire professionals.
Yes, it is important to remove as much adhesive as possible. It will help in making the surface smooth for the new flooring.
Because removing slate tiles can be dusty, it's important to protect surrounding surfaces and wear a dust mask.
*Disclaimer: All information and advice given above in the blog are to the best of our knowledge. Please reconfirm at your end before execution.